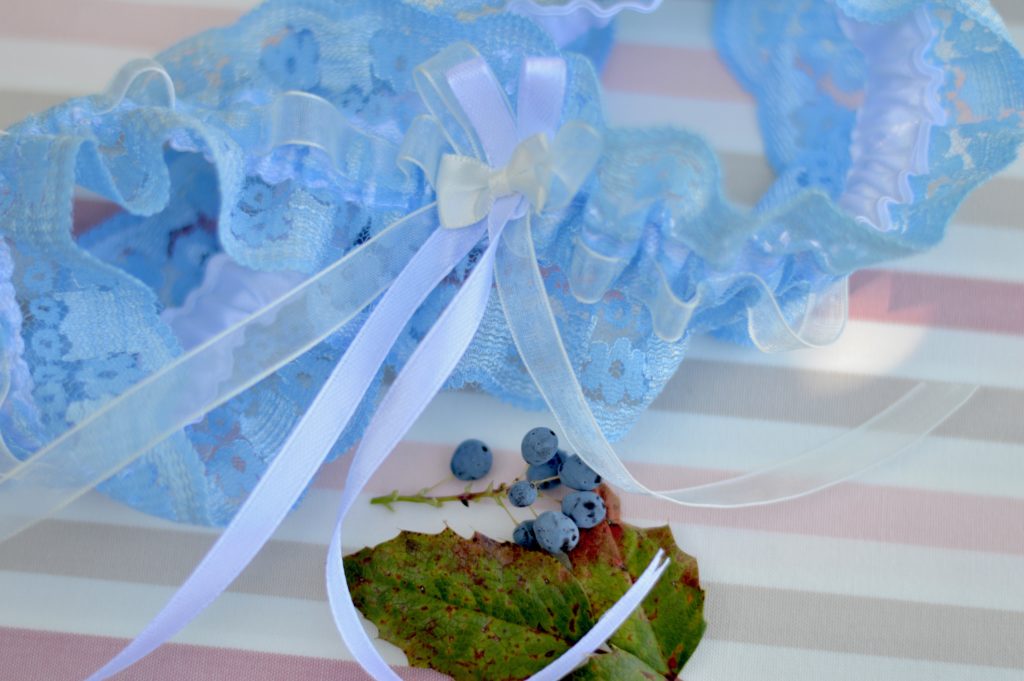
Bridal garters are often a common accessory of wedding dresses. According to the tradition, the blue garter symbolizes the loyalty and purity of the bride. Sometimes the bride is even gifted several garters and can auction them to single men or keep them as a memorabilia.
Supply list
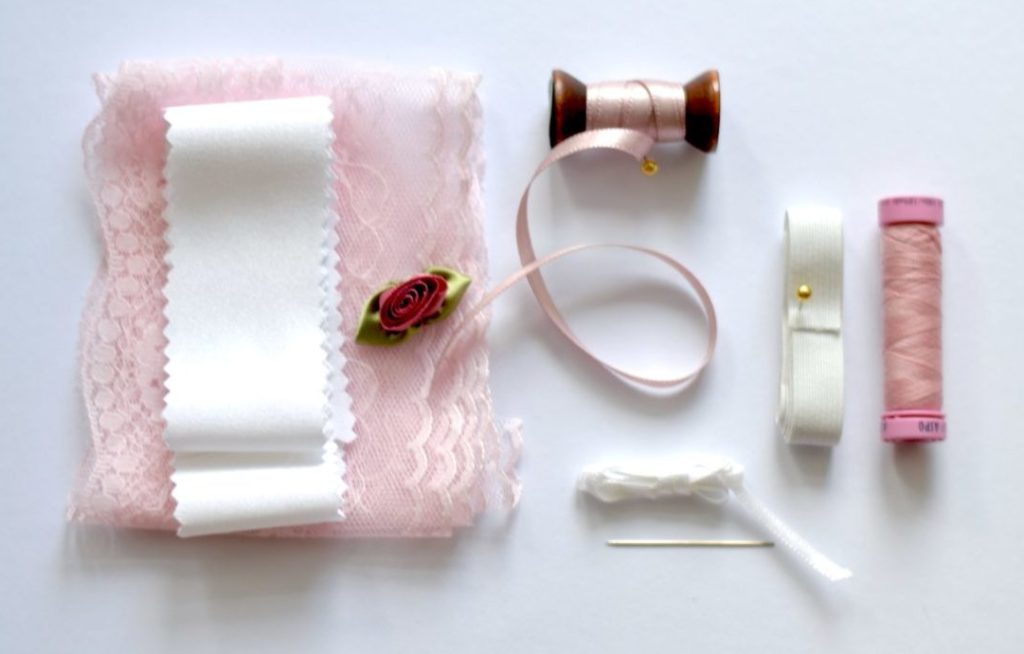
- Lace (about 9cm wide)
- Silk fabric
- Thread matching lace color
- Ribbons
- Decorations
- Elastic (about 1.5cm wide)
Measurements
The lace and silk fabric band both need to follow the measurement of your thigh with an additional 20cm spare. Whereas the elastic needs to be the exact measurement of your thigh circumference with an additional 2cm for the seam allowance.
Technique
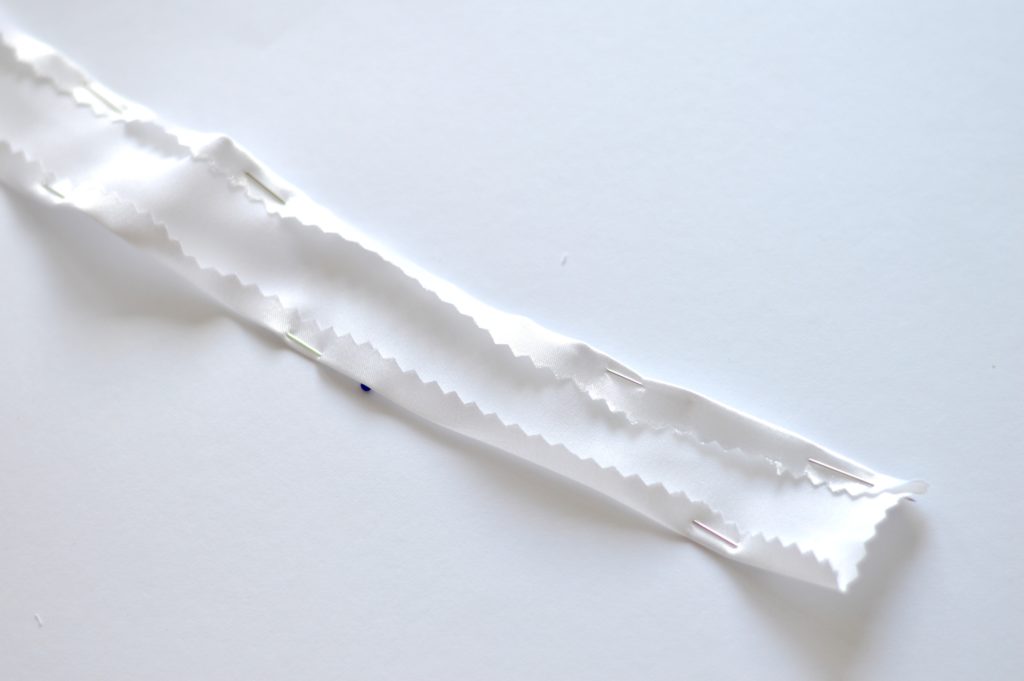
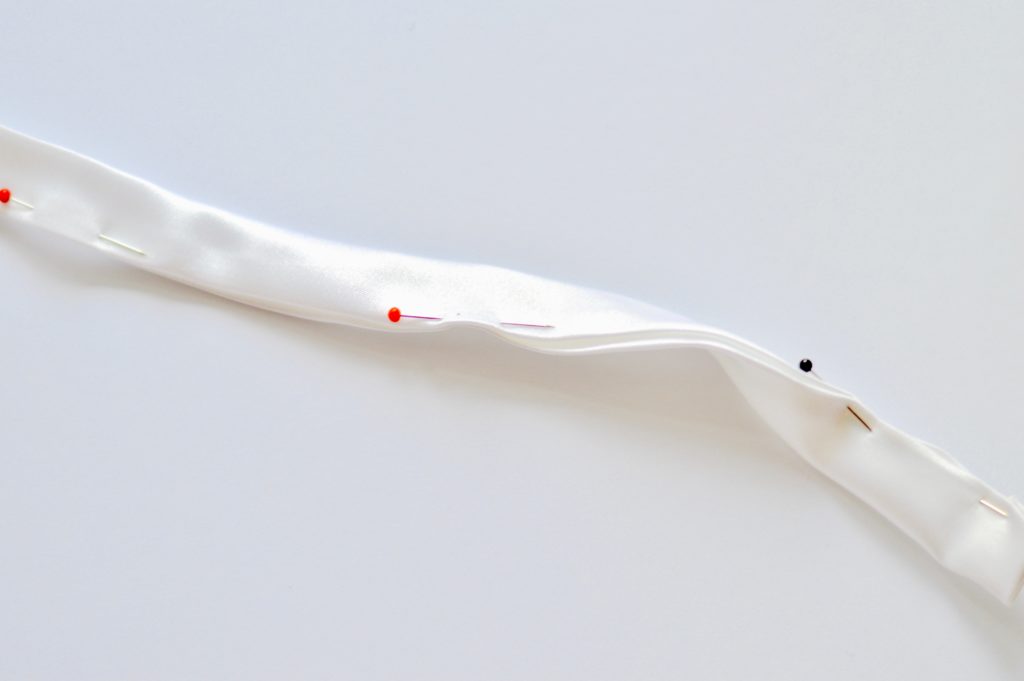
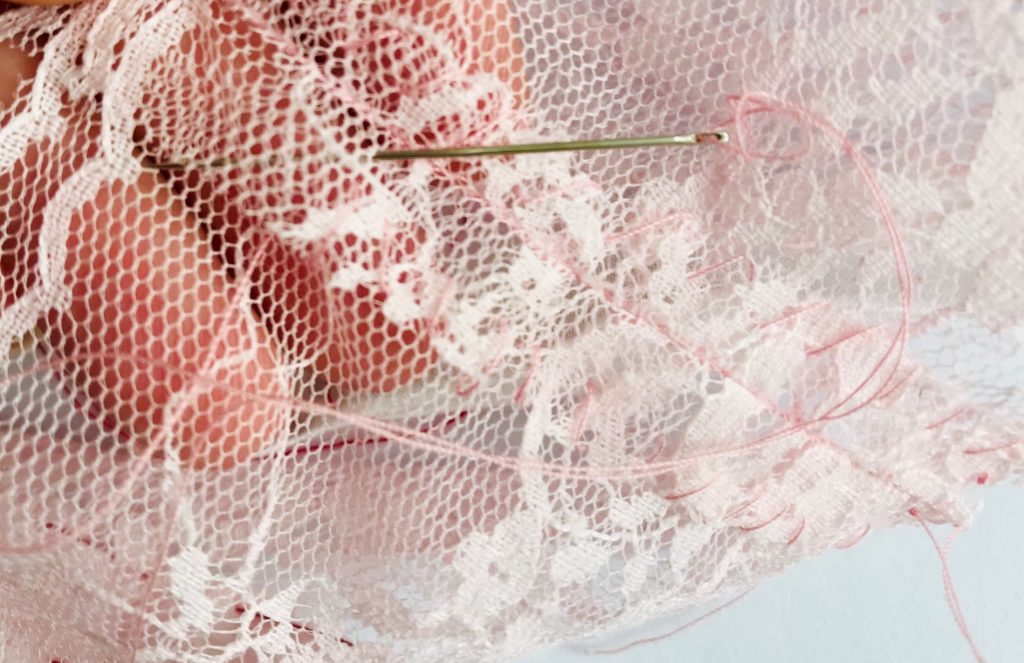
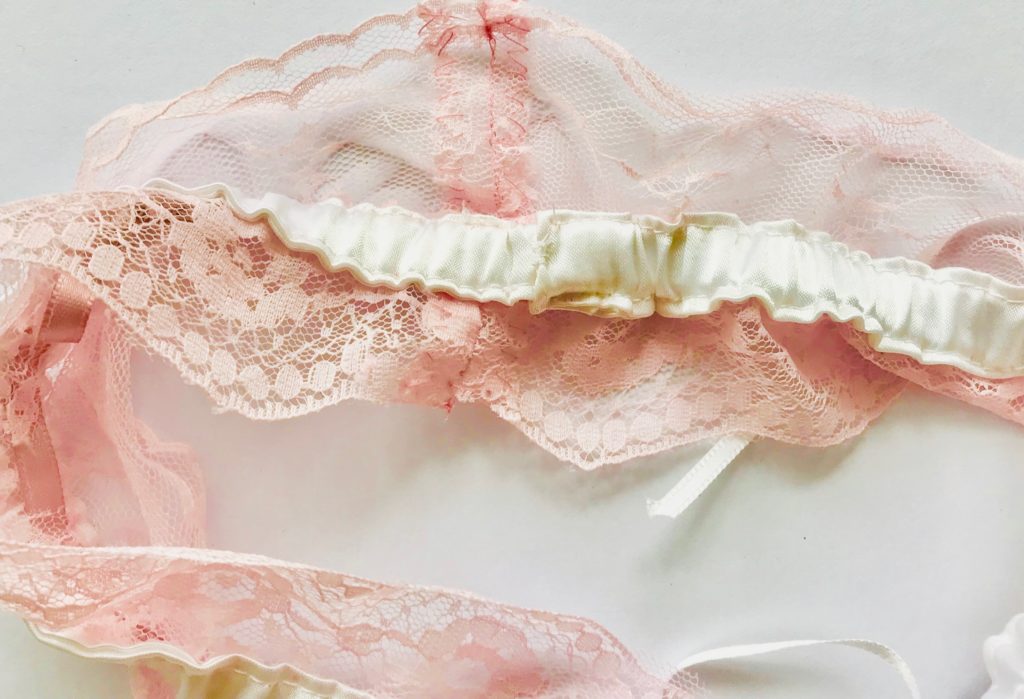
First we need to prepare a tunnel using the silk fabric band for the elastic to feed through. The band needs to overlap at one end of the lace by at least 2cm. Next length wise turn the edges inside by 0.5cm and press them using your iron and pin. Then fold the whole band in half and press again the fold. Make sure one end is neatly folded inside. Now for the lace sew both ends together using your sewing machine leaving at least a 0.5cm seam allowance. Then open the seam with your iron and hem by hand the seam allowance on each side with a needle and thread matching the lace color.
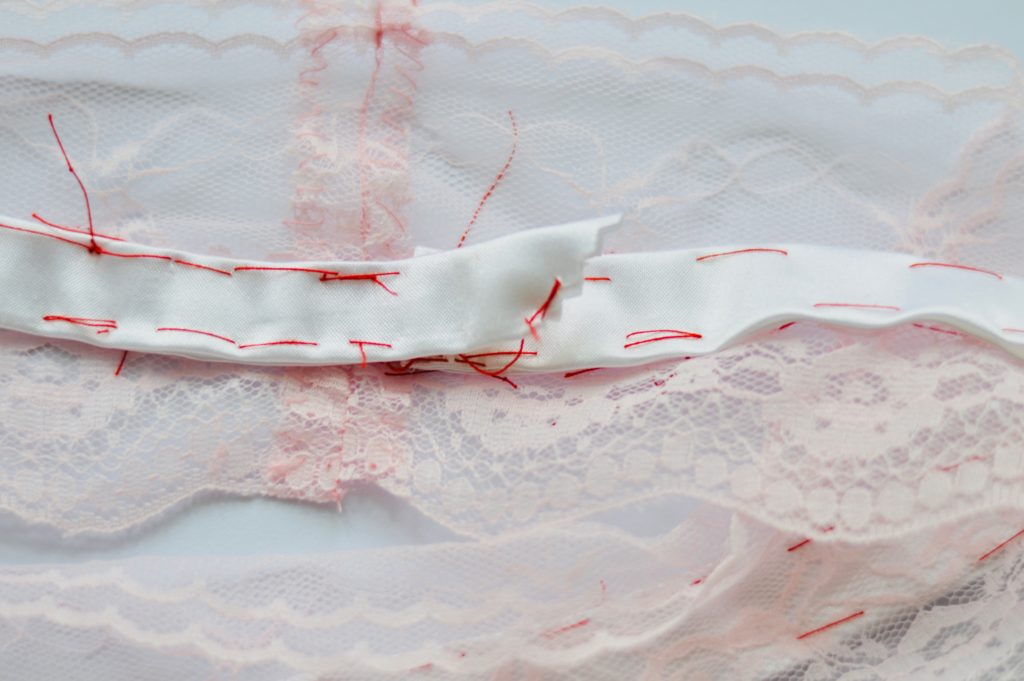
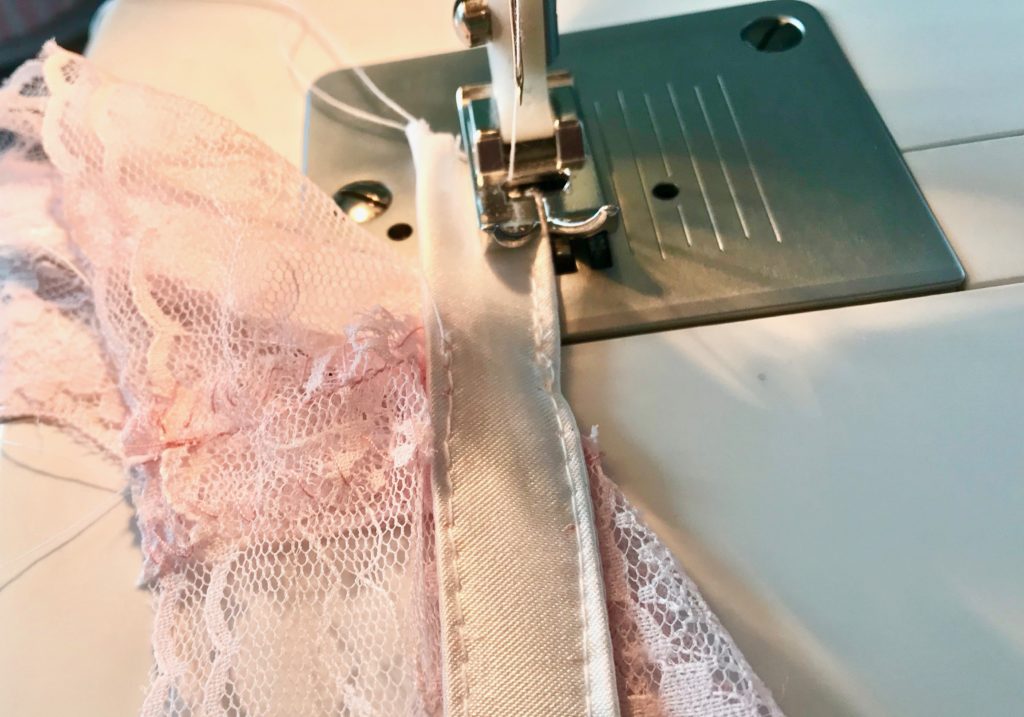
Place the neat end of the band on the seam of the lace and sew it across the centre length of the lace using a basting stitch. Then sew the band using your sewing machine and stop sewing before reaching the seam. In order to close the unsewn hem of the part which overlaps, turn the band around and sew the 1.5cm of the remaining part from the opposite direction.
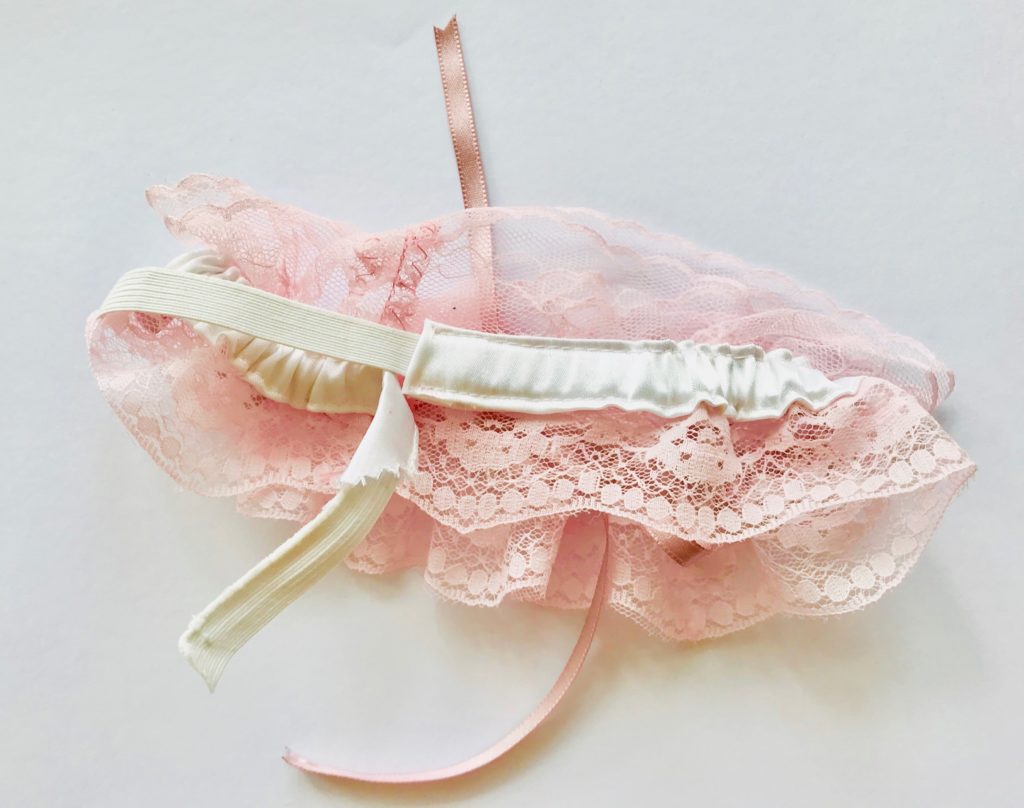
Now we will be feeding the elastic through the band. To help, fasten a safety pin to the end of the elastic. Once the elastic is fed through, sew both ends of it together using your sewing machine. Once sewn, insert the overlapping surplus of the band inside its neat end and sew the seam by hand using two or three stitches.
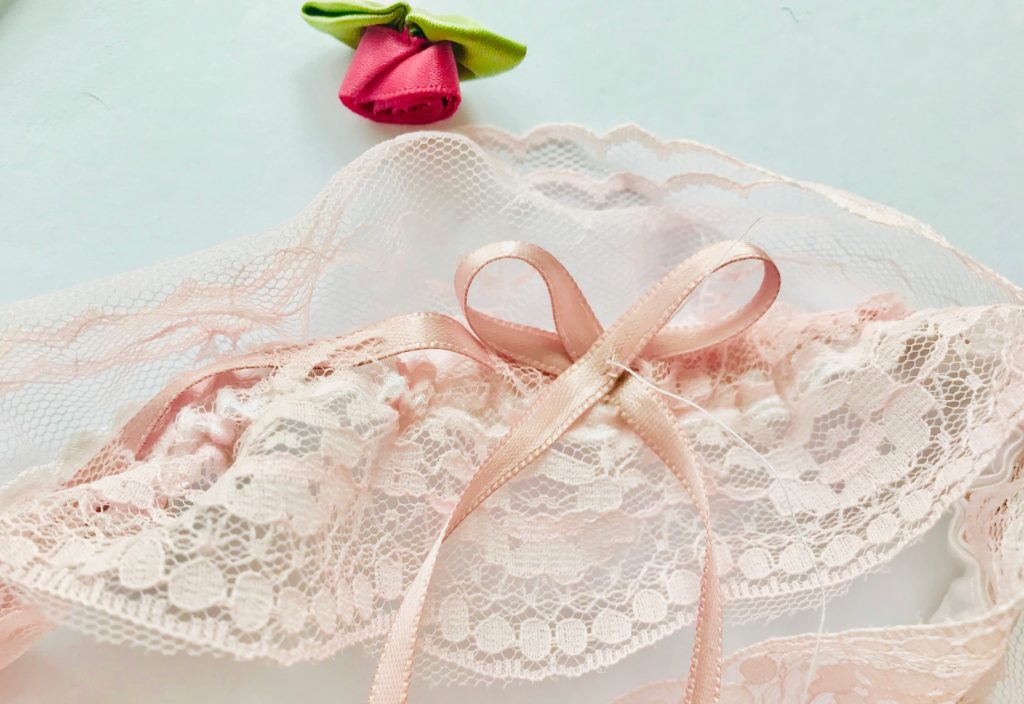
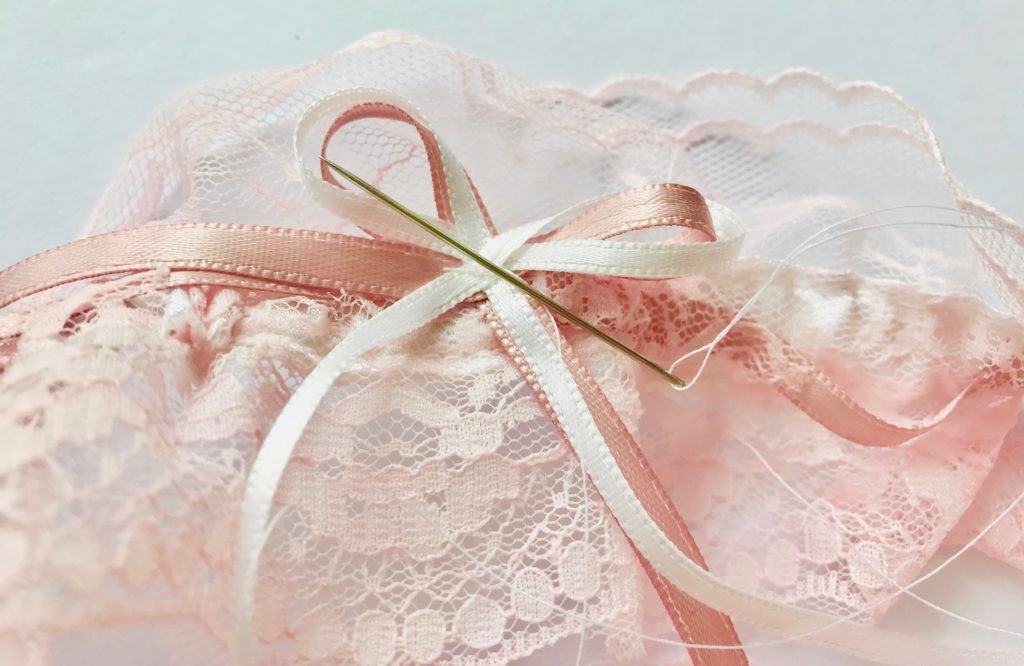
The decorative ribbon can then be weaved in between the lace and band. Again a safety pin can be used to help. To make the small openings for the ribbon, carefully cut the lace using the embroidery scissors in regular 1cm intervals. Before you tie the ribbon, do not forget to extend the elastic to its maximum, otherwise the garter will loose its elasticity. Finally fix the knot by hand using small stitches and sew delicately all other chosen decorations before you are done!
And that’s it! Final results are posted in the gallery below 🙂
Image Gallery
* * * *











Leave a Comment