Wrap Around Skirts come in many different forms and are popular especially during the summer. Last year I got an idea to make one for an upcoming autumn season. Although it may not seem obvious at first sight, this type of skirt is very easy to create if you enjoy pattern drafting. Now if you want to know how I designed mine, keep reading 🙂
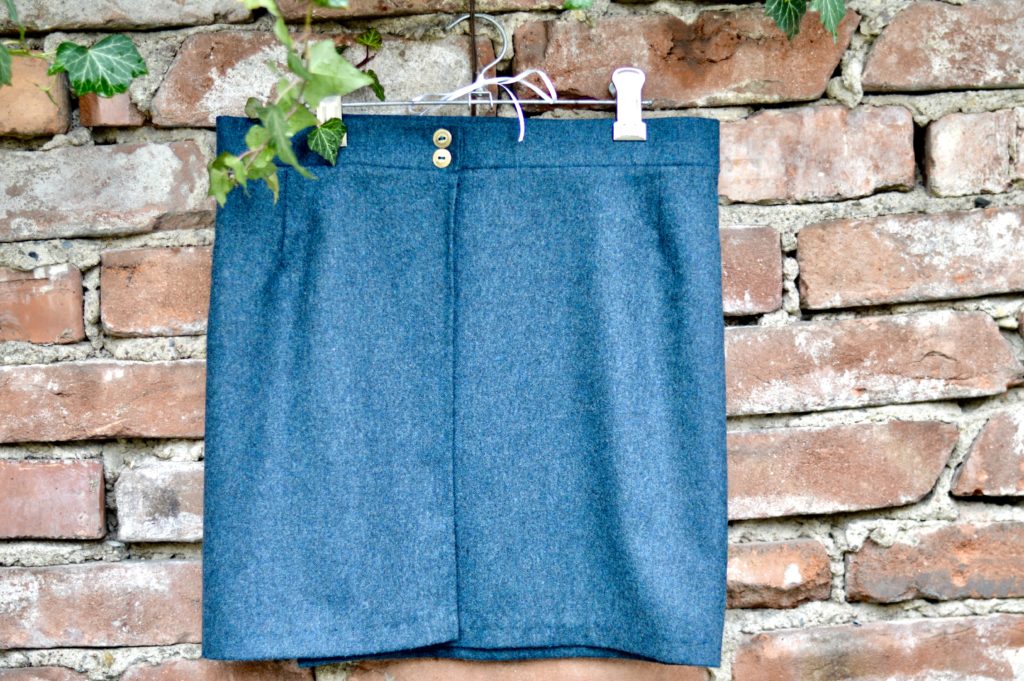

This skirt is very simple with no pockets, really easy to sew. What might be a bit tricky is the pattern drafting part and darts calculation which are explained below. But I think that after several looks you will see it’s not a big deal after all. For calculating the darts value, you will need to know the measurement of your waist and hips. Remember, we always measure in even numbers, so in case you will obtain an odd number, round it up.
Supply list
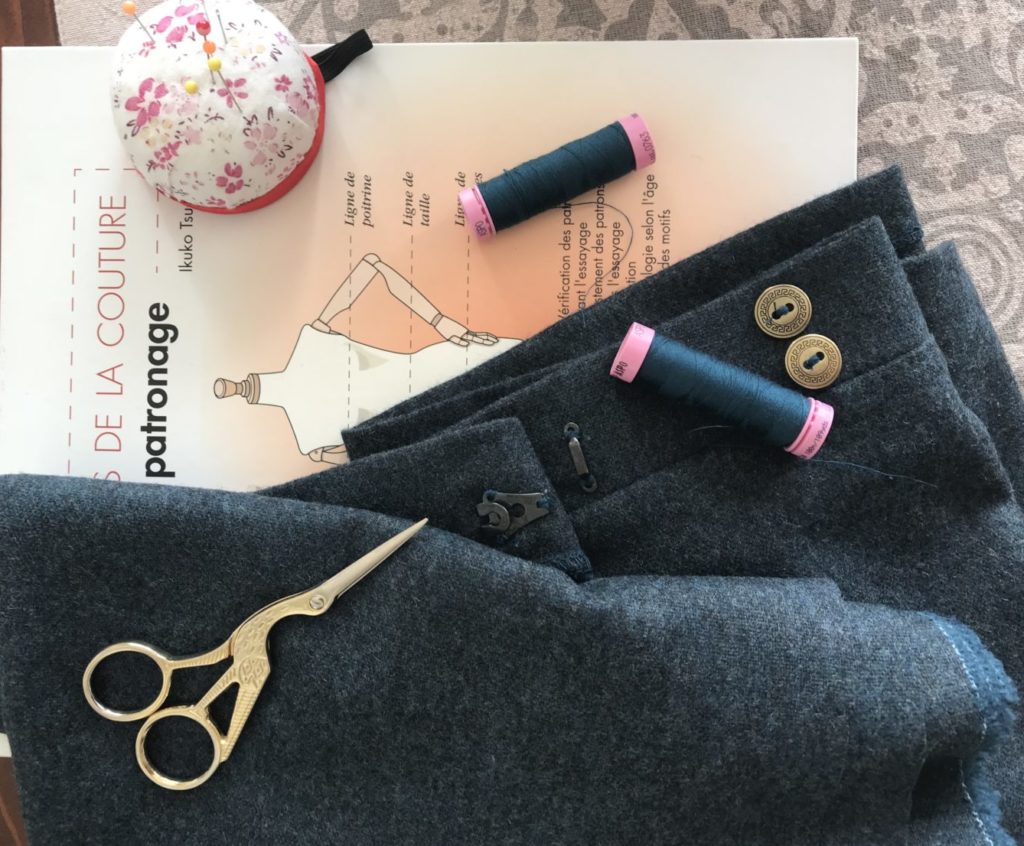
- Light wool fabric (or any other type of fabric you like)
- 3 spools of threads matching the colour fabric (only 1 if you’re not using a serger)
- 2 decorative buttons (mine were 1.5cm in diameter)
- 1 skirt hook and 1 bar fastener
- Lightweight fusible interfacing fabric to reinforce the waistband
- Ruler and Curved Dressmaking Ruler
- Pattern paper
Technical drafting
As a first step what we need to do is draft the basic skirt pattern (shown in the left picture below) which we will slightly adjust to get our wrap skirt pattern (right picture below). Noting that in my illustration on the left below I’ve added dart values in yellow according to my own measurements as an example. Obviously, your dart values might be completely different. The dart value calculation is explained later on.
As this is the tutorial for a Wrap Skirt out of a single piece of fabric, it’s worth noting that the side seam won’t be sewn.

Pattern drafting
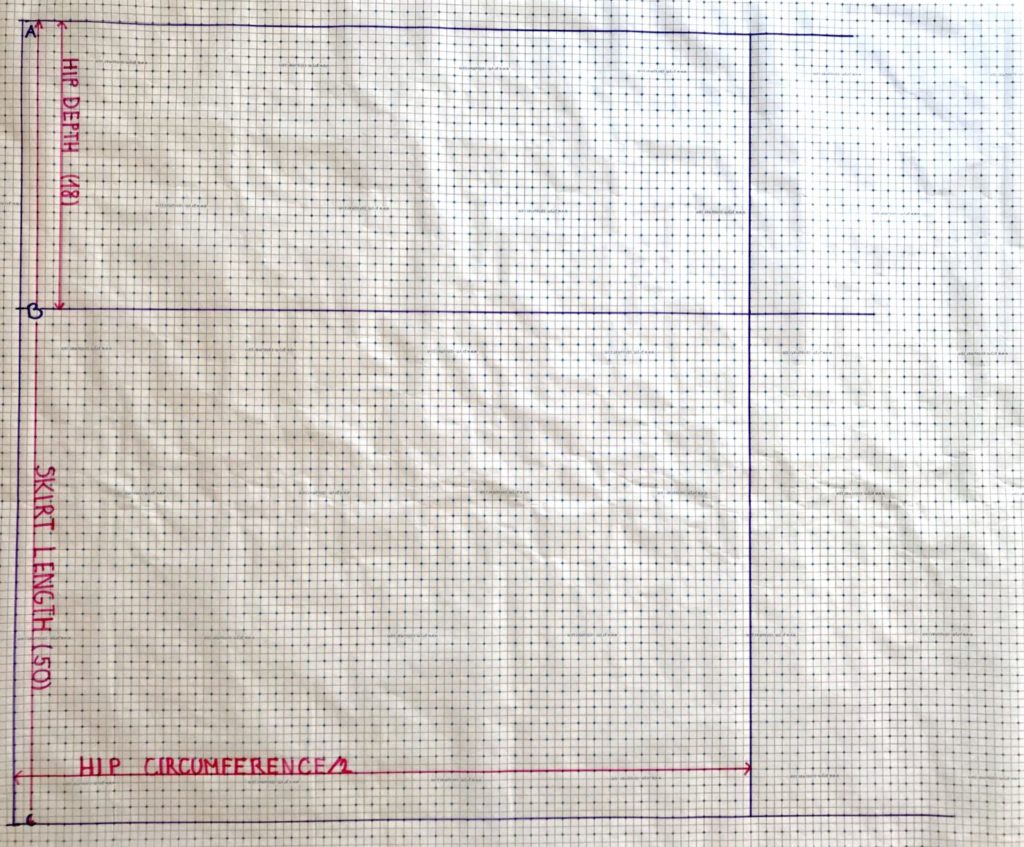
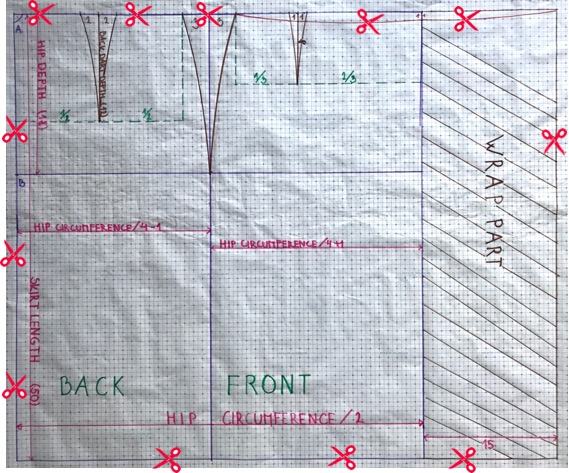
- Draw a right angle (marked A) in the upper left corner. The vertical line is the center of the back, the horizontal line will become the waistline.
- From point A, measure vertically 18cm (constant for the depth of the hips) and mark B. Then again from point A, measure the desired skirt length adding an extra 3cm (mine was 50cm) and mark C.
- Draw a horizontal line from B and C. Line B will now become the hip line.
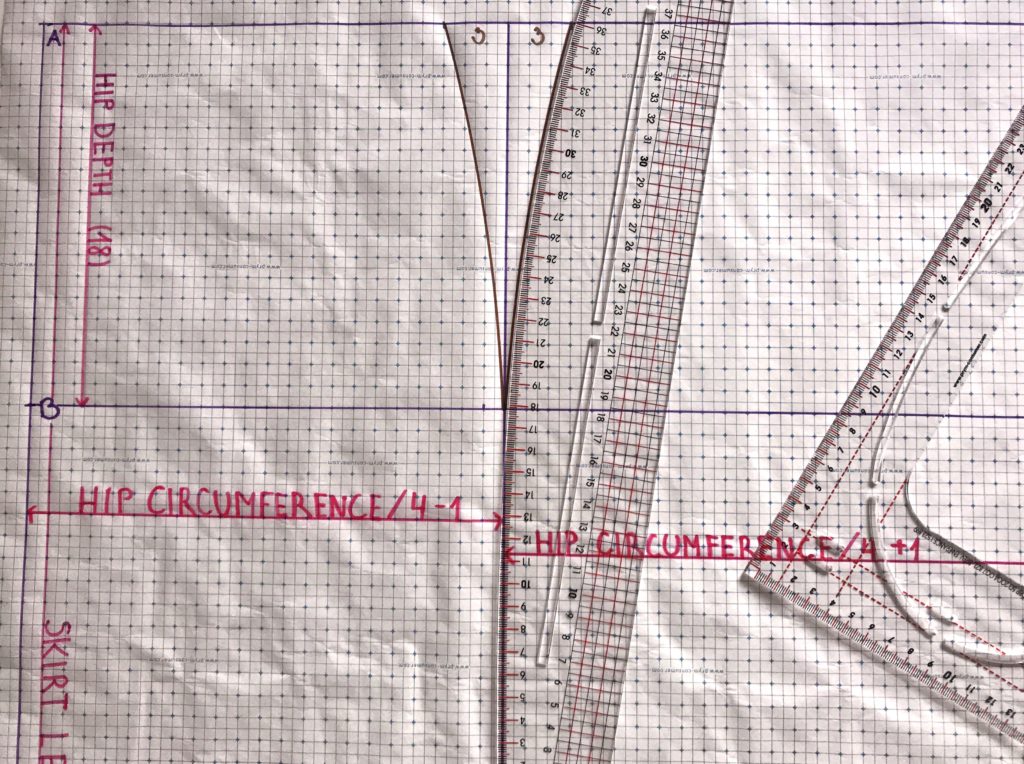
- Measure one half of your hip circumference value on the hip line and raise the perpendicular to close the construction grid.
- The construction grid will now be split into the front and back parts. The front is a bit larger than the back so the width to use is the hip circumference divided by 4 and then adding 1. Whereas the back is a bit narrower than the front so the width to use is the hip circumference divided by 4 and deducting 1.

Calculating dart values
Now we need to calculate the value of the darts. Always remember each body silhouette is different and this is only a general calculation. You may find later on during the fitting that some dart adjustments will be needed. For this reason darts should first be sewn using basting stitch, then fitted and finally sewn using your sewing machine. Eventually, you can make a toile.
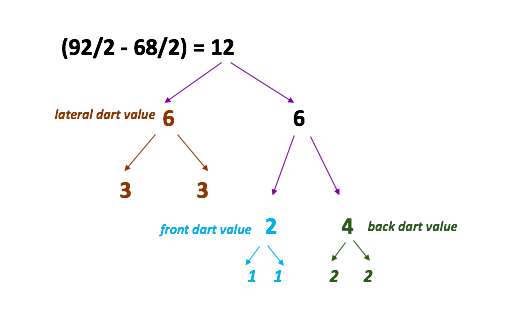
Darts are calculated by the value of the hip circumference divided by two minus the value of the waist circumference divided by two (HC/2 – WC/2). As an example, my values were calculated as follows: 92/2 – 68/2 = 12. The value 12 is then divided again by 2 (which means 2 x 6). This new result is afterwards divided into lateral, front and back darts, as shown in the diagram below. The value of the front dart must not exceed 2 (because of the belly shape).
Tracing darts
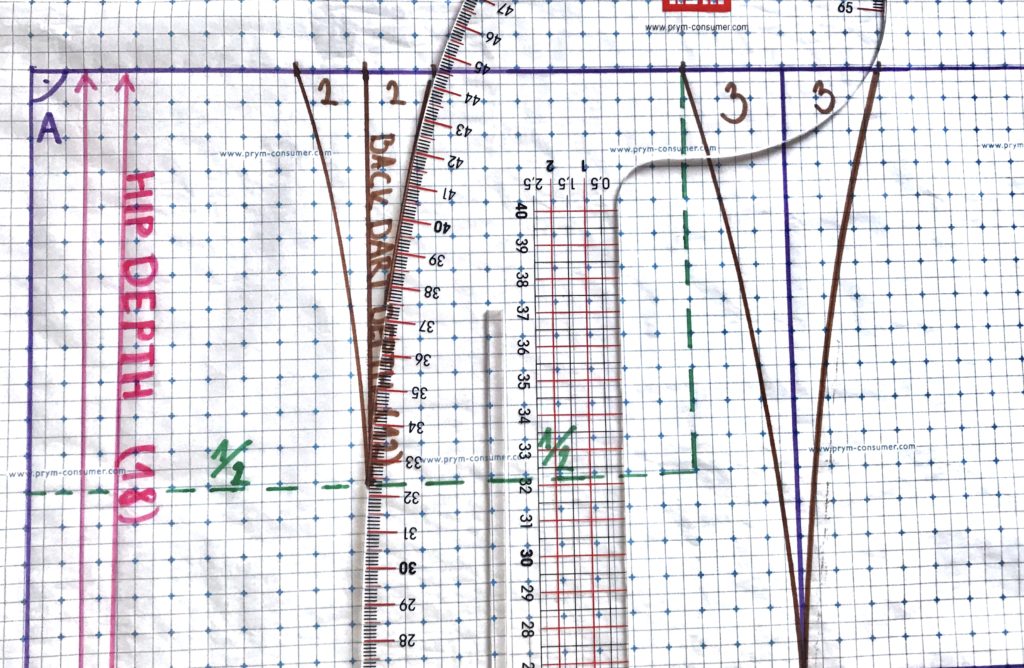
- First on the side seam, measure out the lateral dart value. The depth of the dart is then 18cm (remember, this is a constant). Then plot, using the French curve.
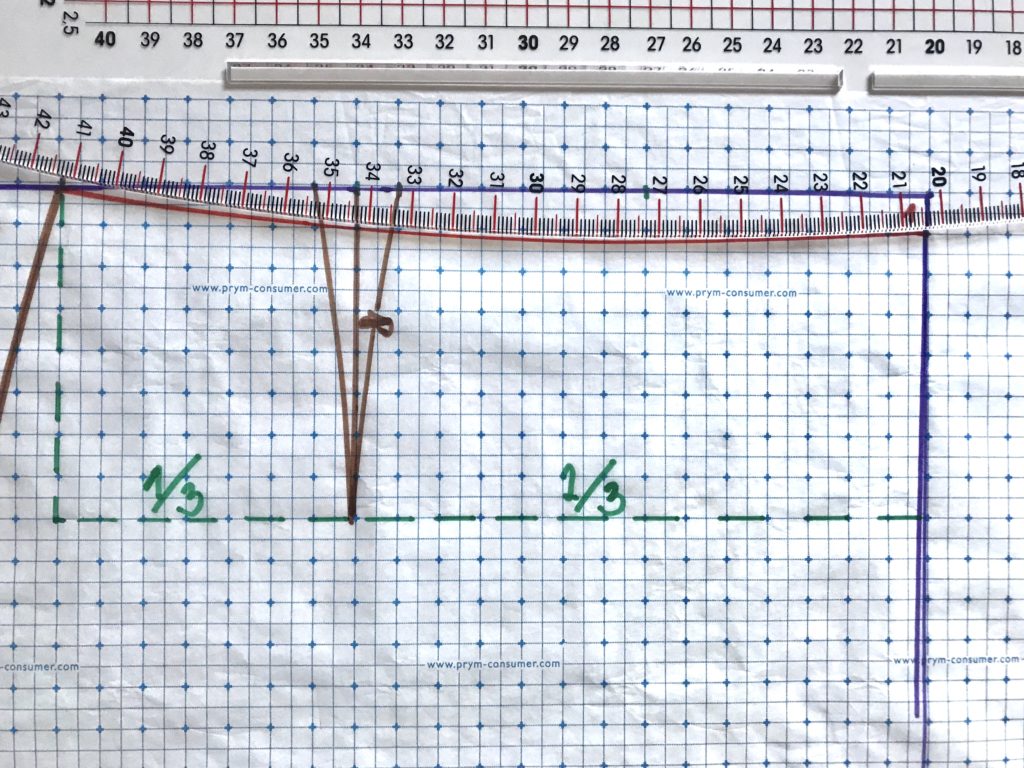
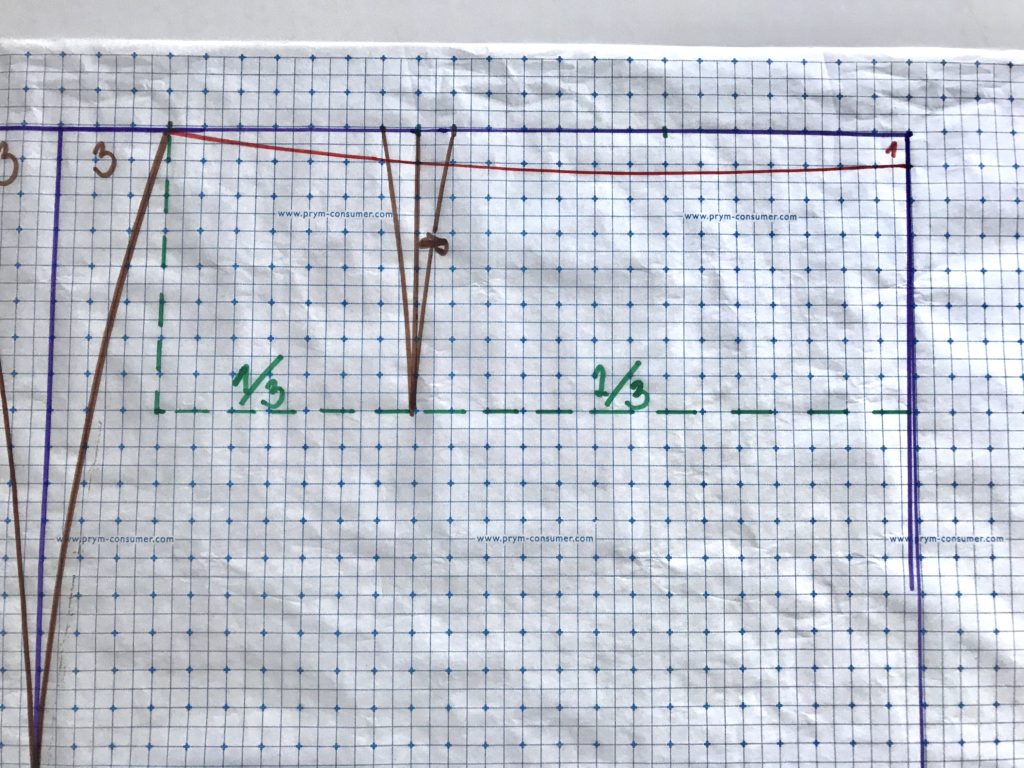
- Then divide the waistline of the back part in half (see the green discontinuous line on the outline below). Lower the perpendicular from the waistline down. This creates the center of the back dart which is usually 12cm long. Apply the calculated back dart value, using the French curve.
- Finally the front dart is placed closer to the side seam – approximately at one third of the waistline from the side seam (again, see the green discontinuous line). Lower the perpendicular from the waistline down. This creates the center of the front dart which is usually 8cm long. Apply the calculated dart value, using the French curve.
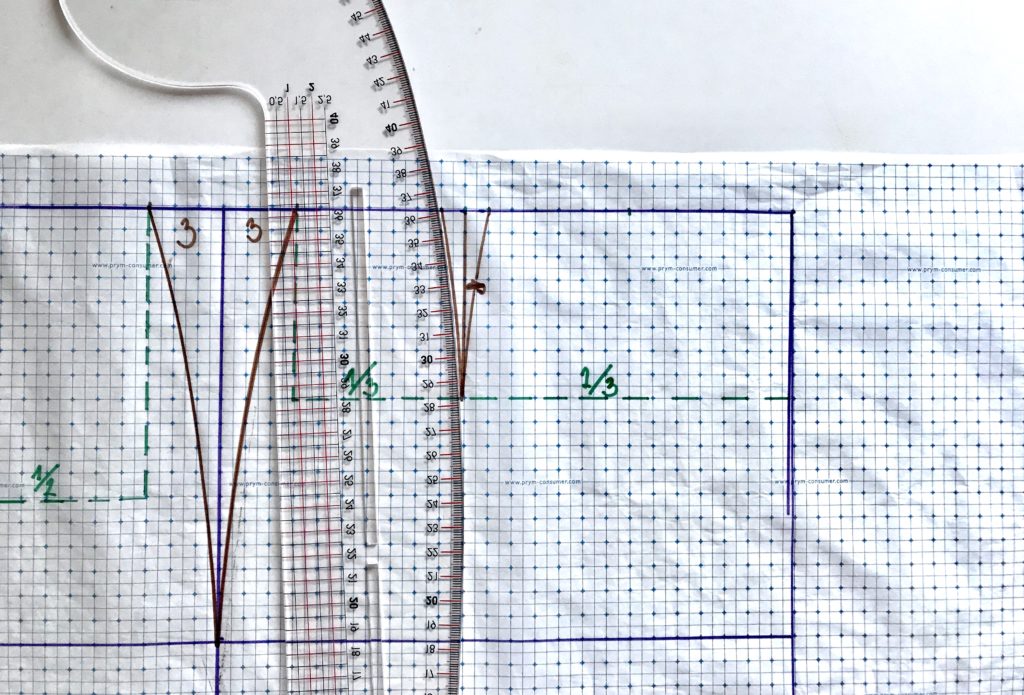
Next the waistline at the front needs to be slightly curved for the skirt to be the perfect fit. Usually it is between 1 and 2cm. At the top of the centre front seam, measure down 1cm and mark the right angle. The curve needs to meet the side waist at the top of the side line. Use the French curve to link both points. At this stage, well done the basic skirt pattern is finished.
Adding the “wrap part”
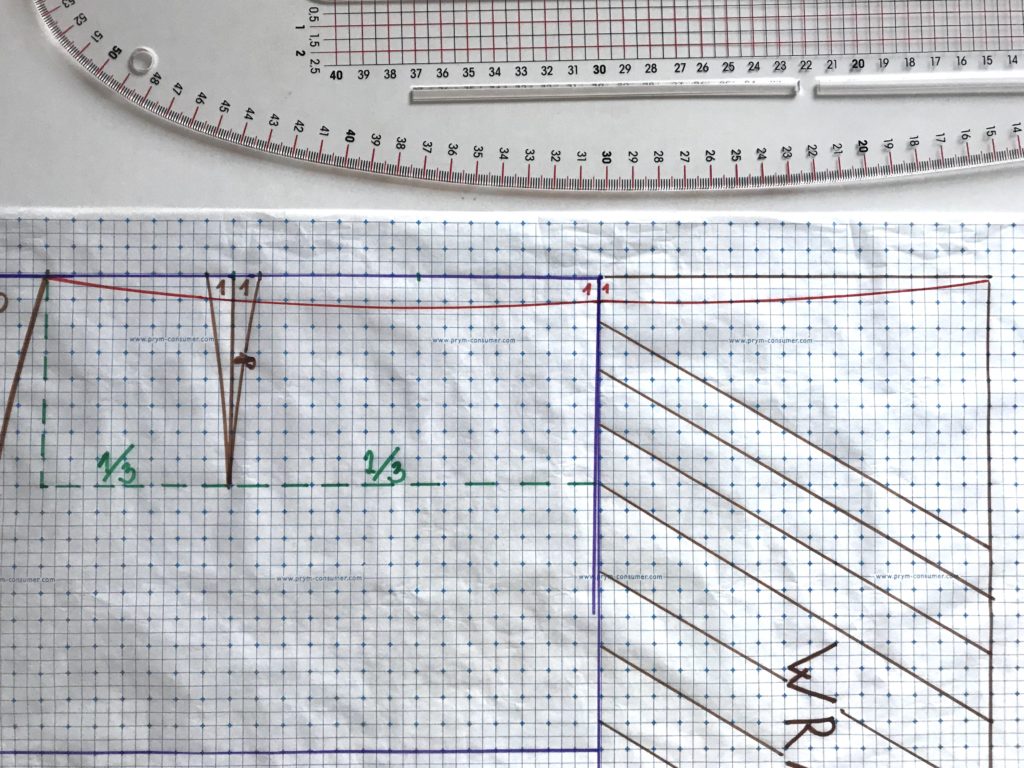
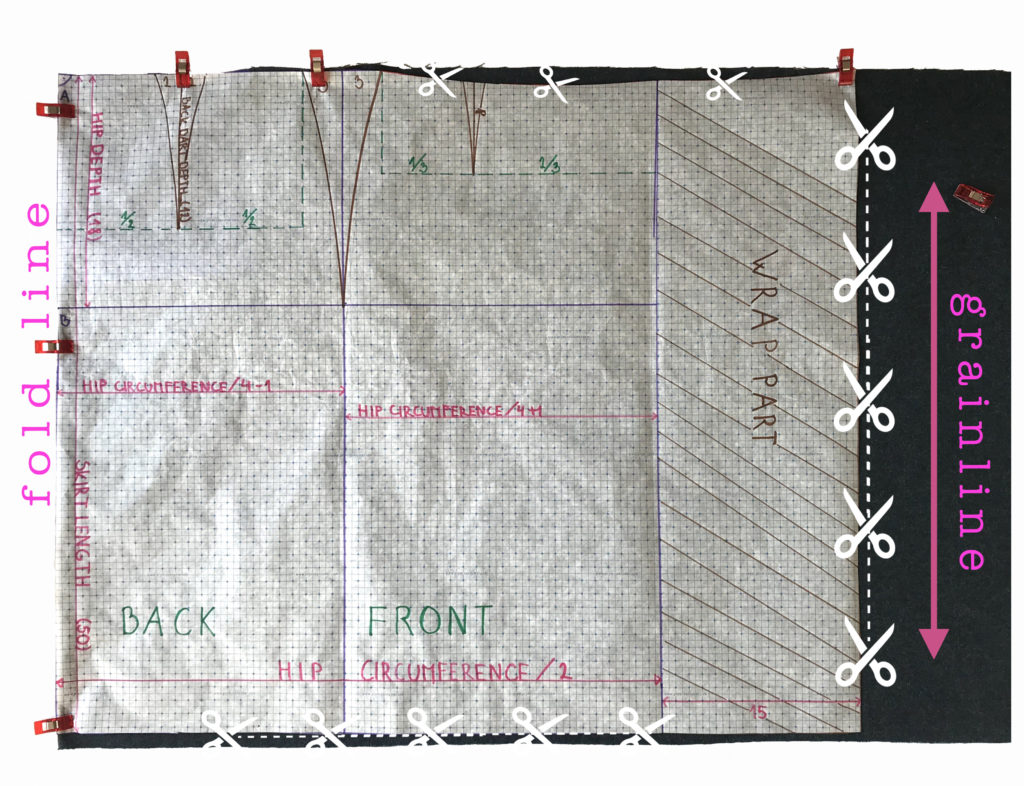
After we’re done with tracing of the basic skirt, we need to add the “wrap” part which will overlap the front. The width of this part will be totally up to you, but please make sure you make it large enough to avoid the skirt unsuitably splitting while walking. I added 15cm, but for you it could be a bit different, depending on your style and body shape. Also the wrap part needs to be slightly curved at the waistline, as shown in the picture below, for it to fit perfectly around the belly. The sheer symbols indicate how to cut the pattern before placing it on the fabric.
Fabric cutting
Fold the fabric face up (so that the pattern will be traced on the reverse side). Then the pattern will be placed on the fold of the fabric and according to its grainline – i.e. parallel to the selvedge edge (the selvedge means the edge on either side of a woven or flat-knitted fabric, so as to prevent raveling).
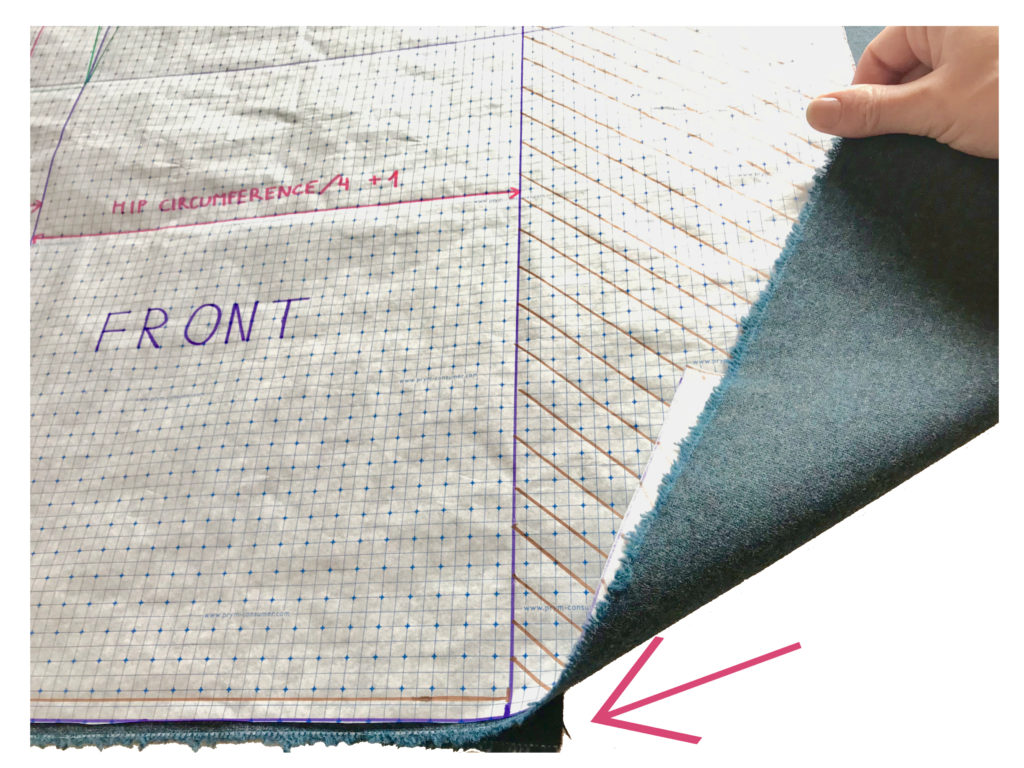
Adjust the fold to stop the double layer before reaching the wrap part as shown on the righthand picture below by the arrow in pink. Then cut along the sheer symbols as shown on the picture on the left.
Sewing
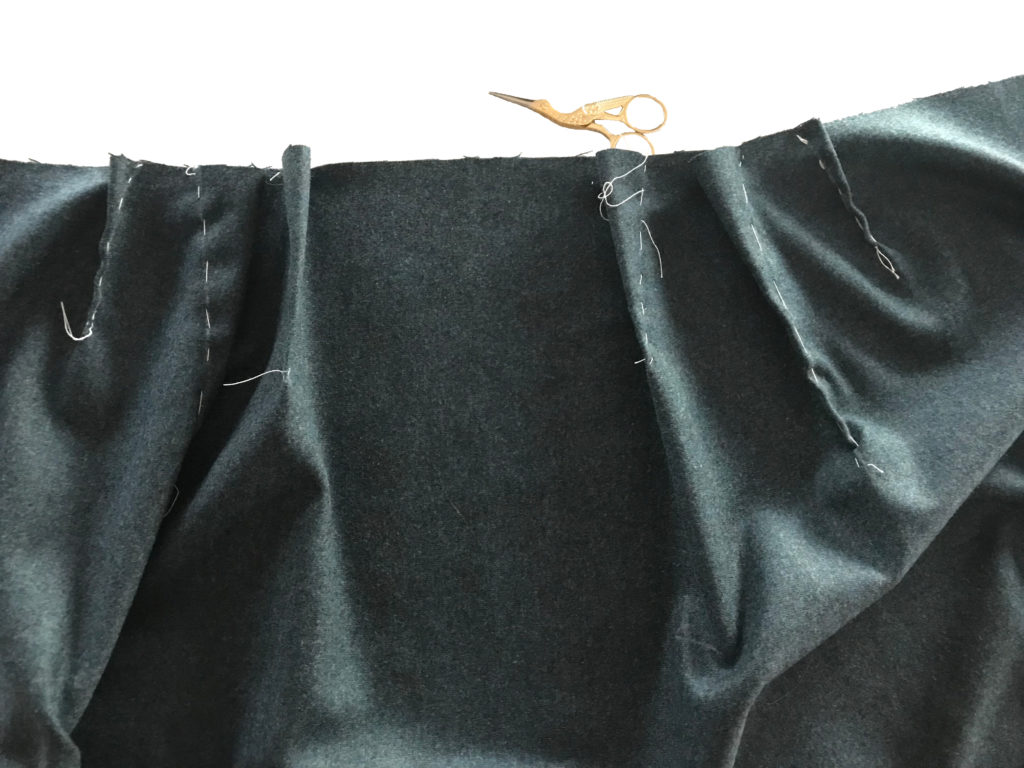
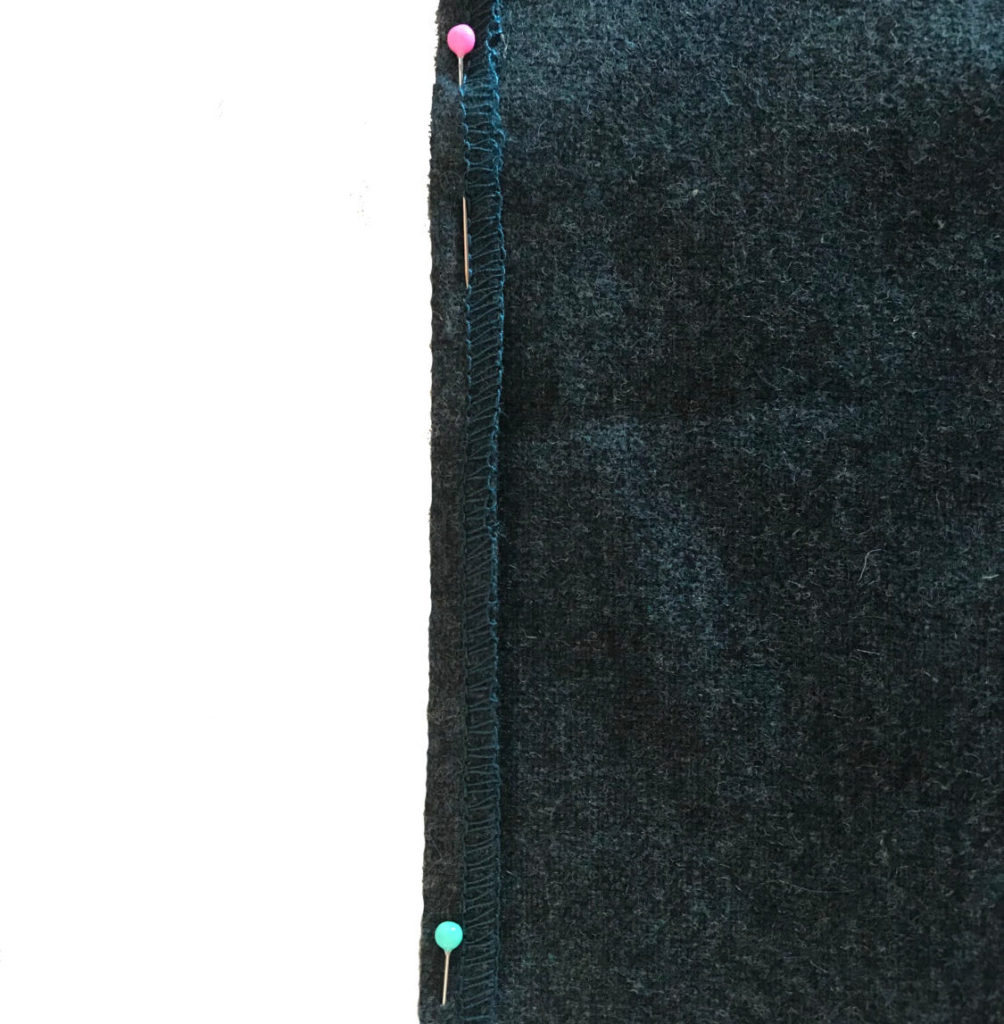
Firstly you will need to sew the darts by hand using basting stitches. Then once you’ve ensured the darts fit well around the curves of your body you sew them using your sewing machine. Next overcast both lateral sides (the skirt sides) using your serger and then fold them down back inside (1cm approximatively) using your sewing machine in order to obtain a nice finish.
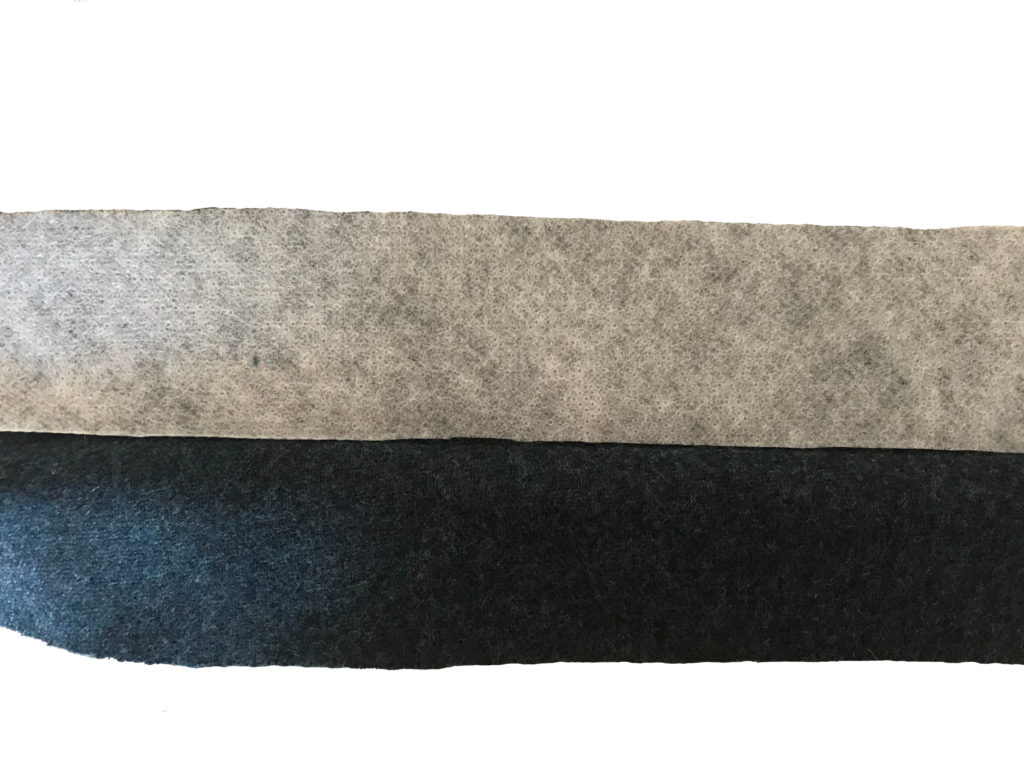
For preparing the waistband, cut a new piece of fabric. Its length should correspond to the upper edge of the skirt adding an extra cm on both sides. These extra centimetres will be used for neatening of the waistband ends, by folding them inside. Choose your preferred width, mine was about 11cm (including the seam allowance of 1.5cm). Then reinforce the waistband by interfacing on half the width a lightweight fusible interfacing fabric placed on the reverse side before folding the waistband in half.
Before any stitching, the skirt hook and bar fastener are to be sewn by hand on the waistband. These need to be carefully positioned according to the curves of your body. Place them to hold the skirt firmly on your waist as best suits you.
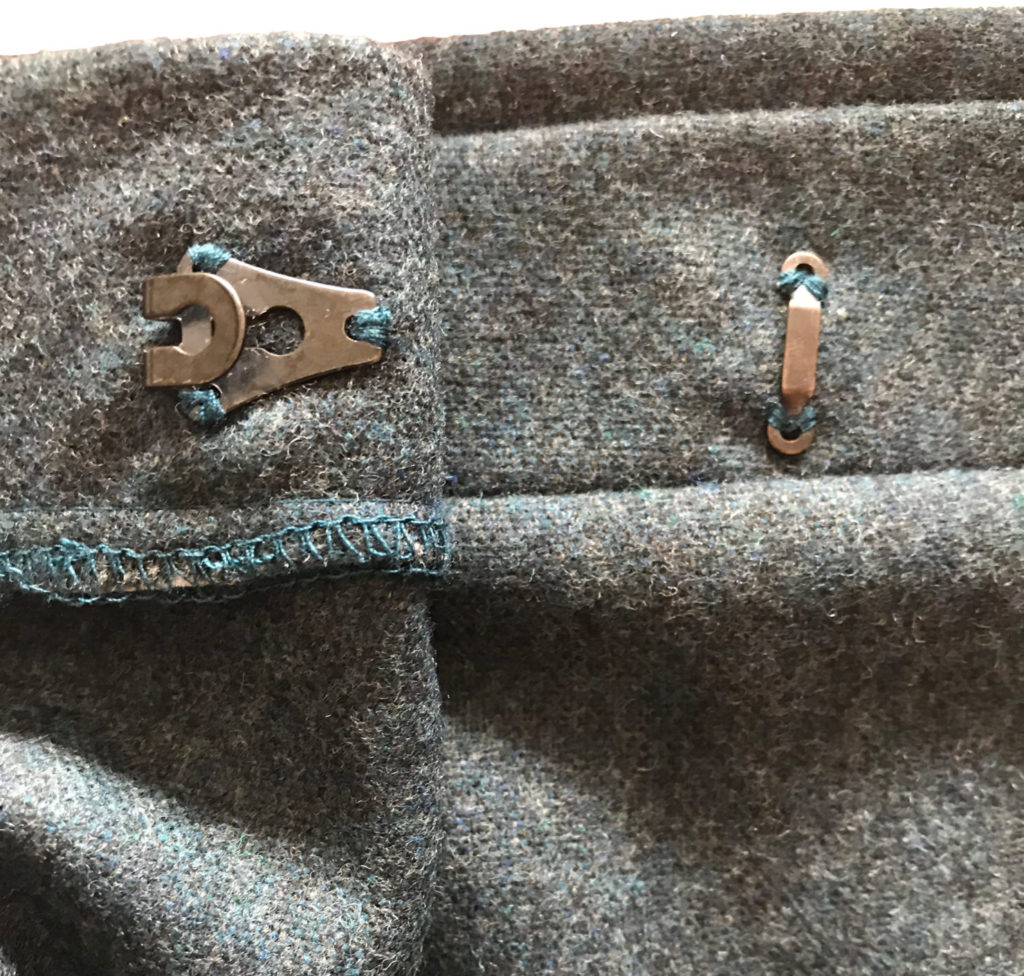

Stitch the band together with the skirt and finish the seem on your serger to ensure you get a clean finish. You can now adjust the final length of the skirt and overcast it on the serger. Then fold inside approximatively 1.5cm of the overcasted edge and sew it using the invisible stitch.
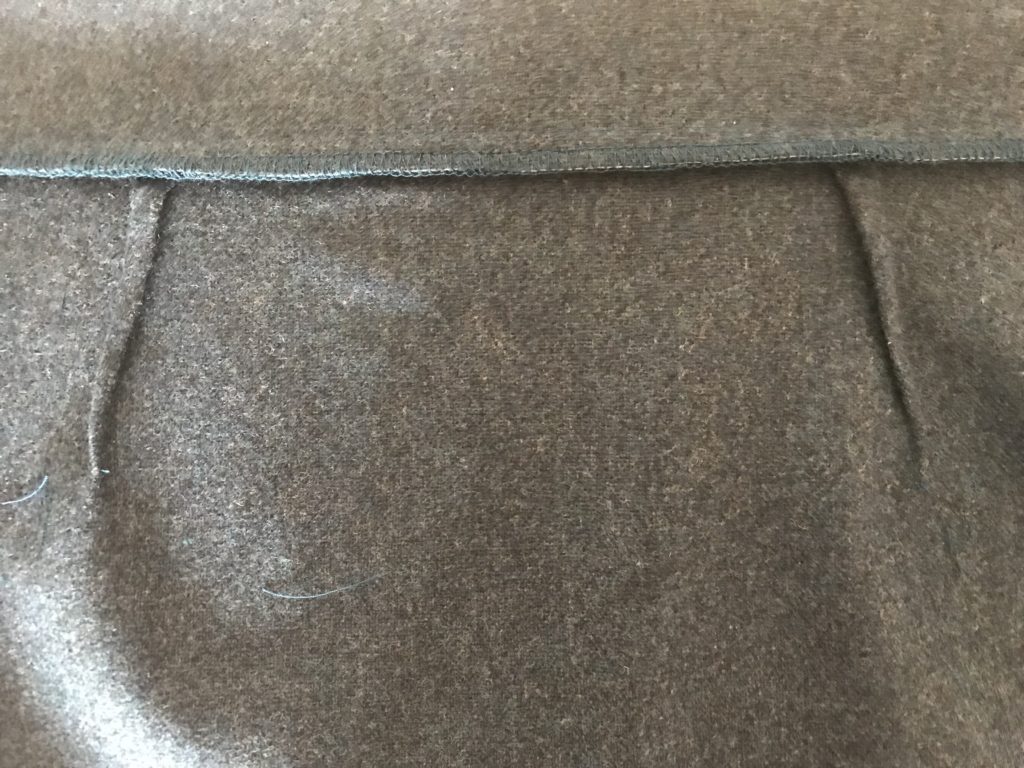
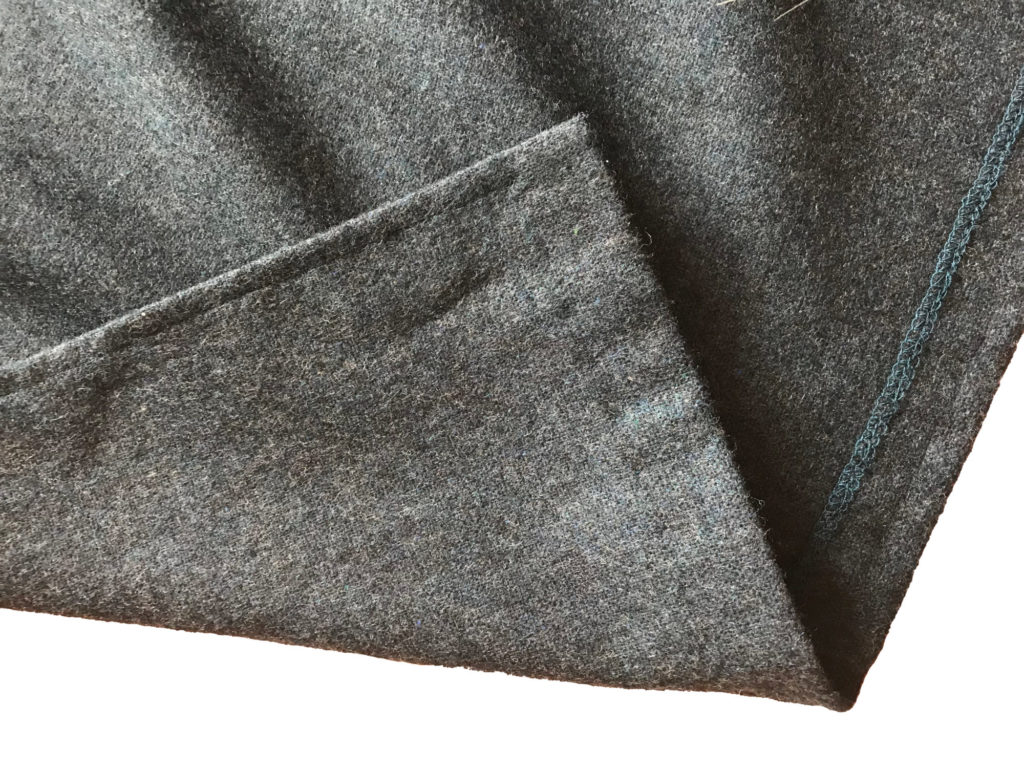
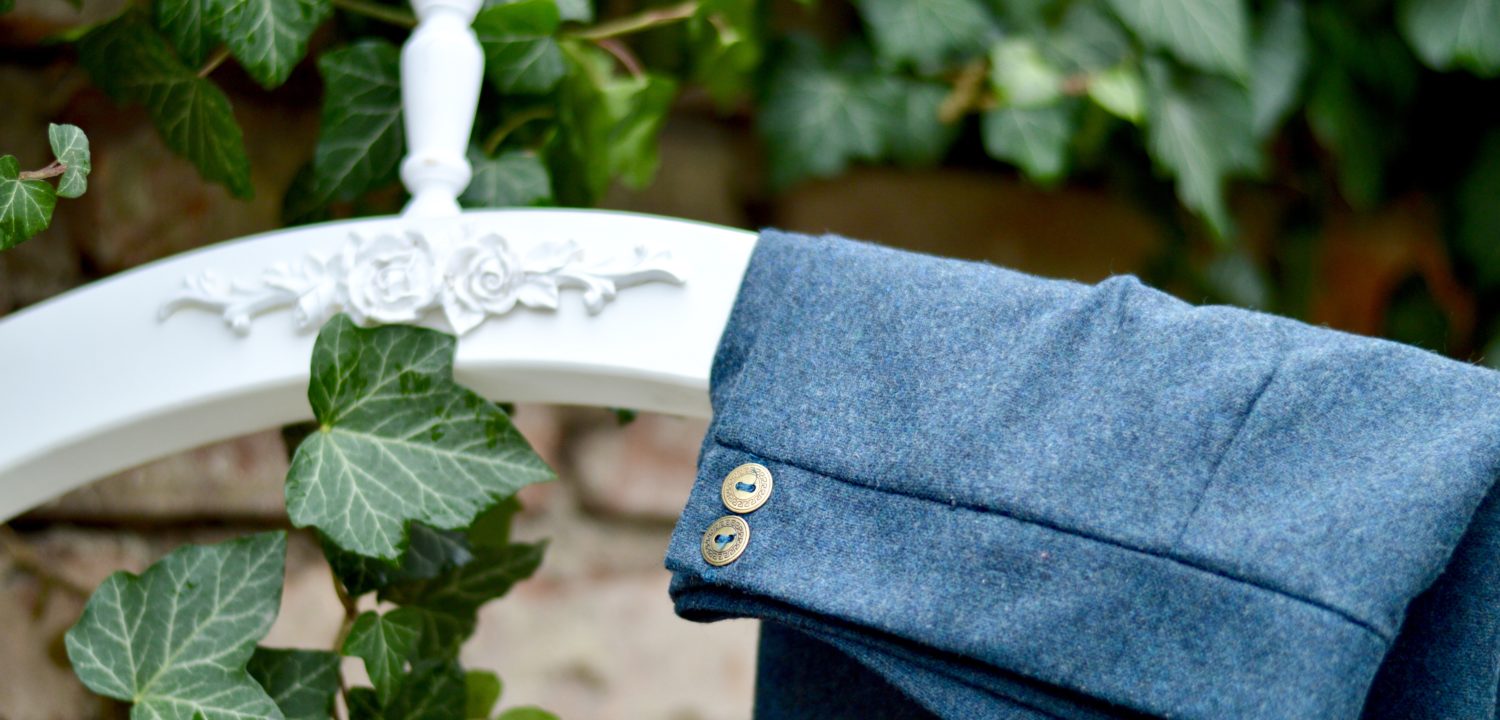
To finish the fastening of the waistband, you will need to sew two buttonholes at the end of the waistband. Then according to the position of the buttonholes, sew by hand the decorative buttons. And that’s it!
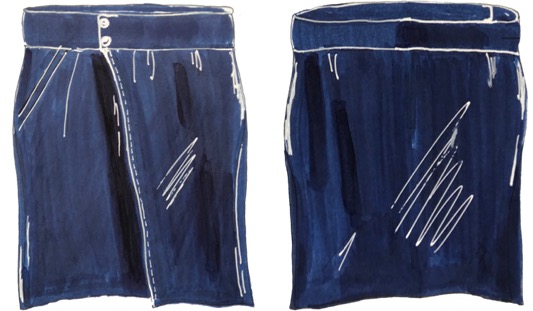
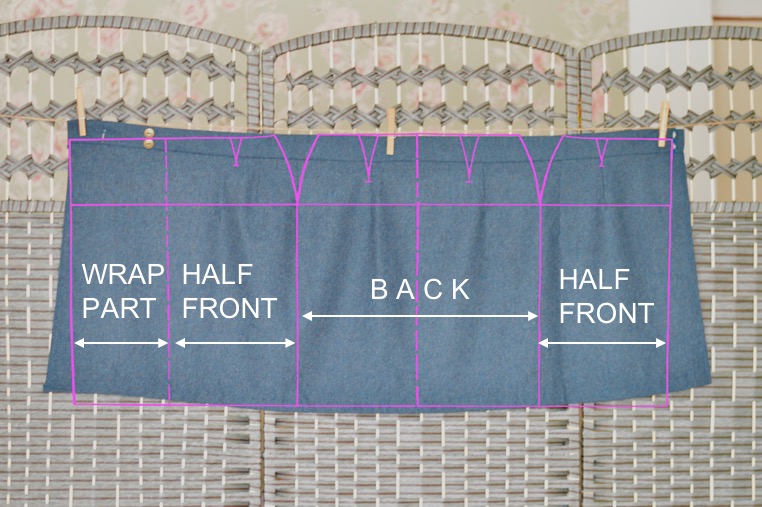
You can now see below the skirt in its final state which also shows you that it’s really made from a single piece of fabric with a waistband and sewn darts. On the other hand the picture on the right shows you how the skirt pattern projects on the final result.

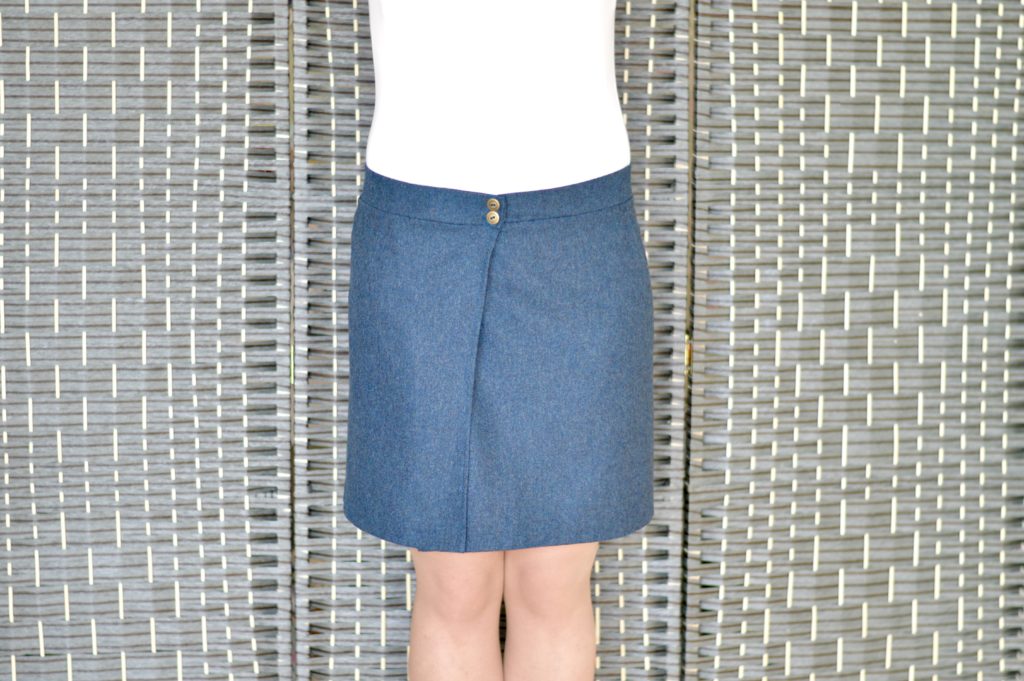
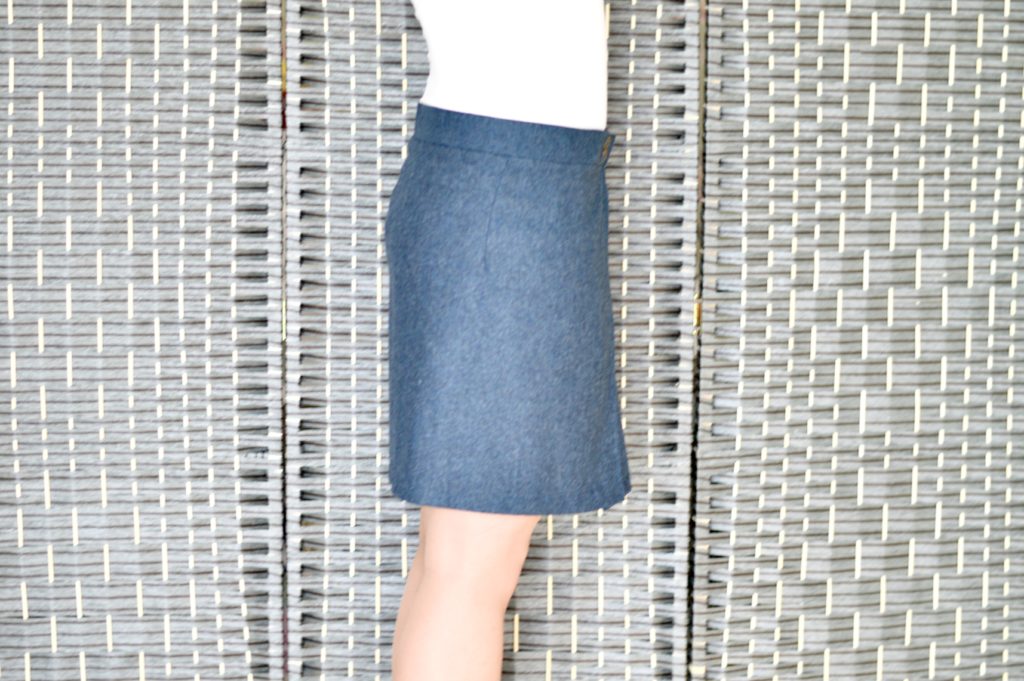
And here is also how it fits while being worn 🙂
* * * *




Leave a Comment