Sewing the cosmetic headband and cleansing pads hemmed by the bias tape
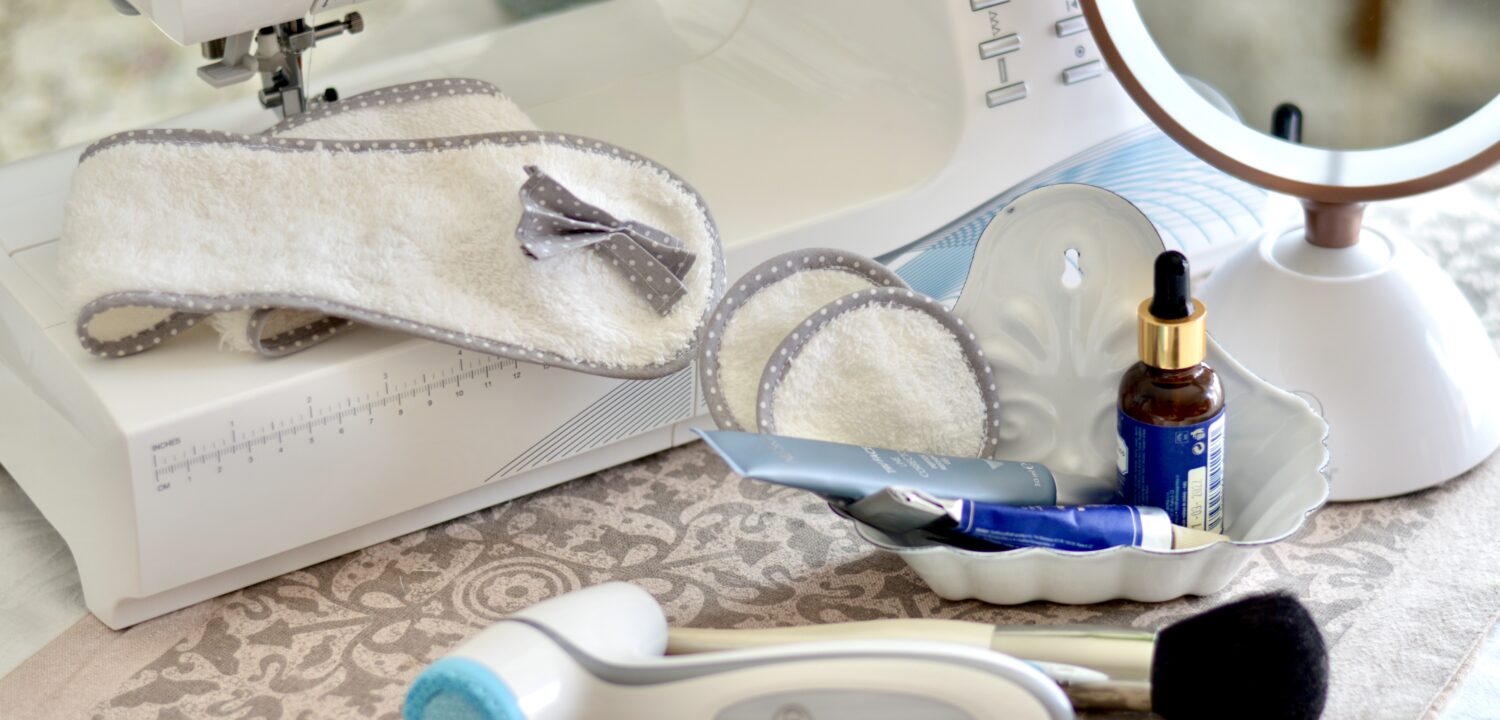
Have you always wonder what might be the best way to make a pretty and clean edge finishes? Then, have a look at my new tutorial 🙂 Not only will you create a very practical and beautiful cosmetic headband and pads, but you will also get to understand the principle of the hemming with a bias tape. Bias tape is something commonly used in sewing practice. It is actually a piece of fabric cut on a diagonal, across the grain. We make use of bias tape for hemming rounded edges of garments – such as necklines, armholes, collars or decorative skirt finishes. In order for the bias tape to reproduce the round shape, the fabric needs to be strictly cut under the angle of 45 degree. This helps to stretch out the fabric. So, let’s have a look at how it works 🙂
Supply list
- Cotton terry in measurements of the band (see below) + some extra quantity for the cleansing pads. The diameter of one pad is 8,5 cm. You can also use a good quality terry towel, as I did.
- Pieces of decorative cotton fabric – preferably not very ravelling material
- 5 cm of Velcro fastener – 2 cm width
- Stitching and basting thread
- Pins, scissors or roller cutter
Preparing the band
1. Start by drawing a simple paper template in the form of rectangle with rounded corners. Measurements are indicated in the picture.

2. Once finished, transfer the paper template on your fabric and cut by using scissors or roller cutter.

Preparing the bias
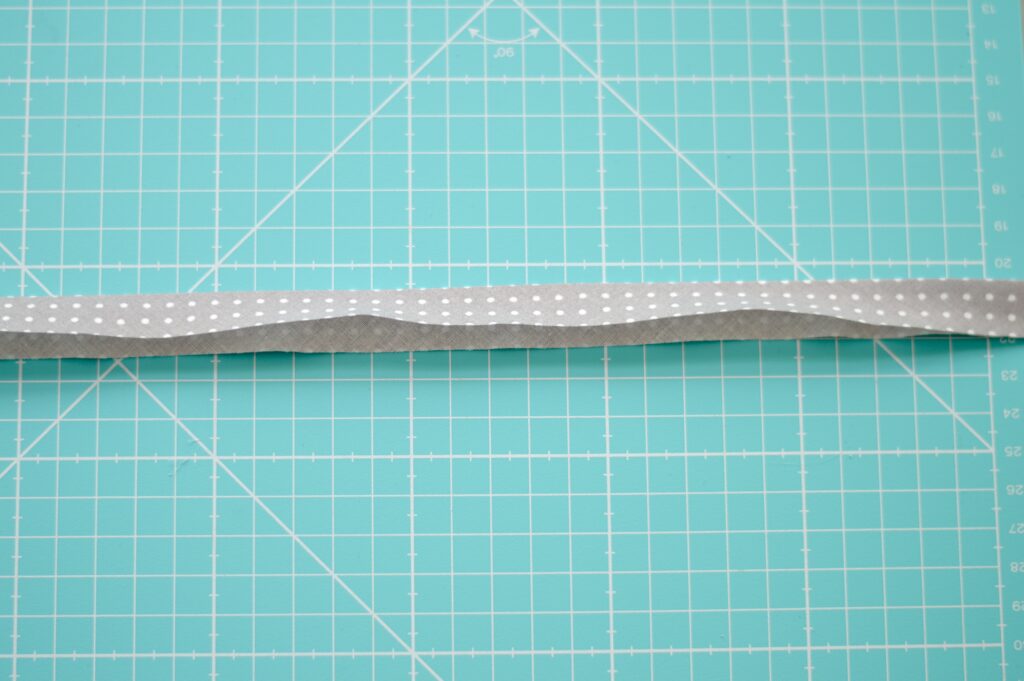
3. Measure thoroughly the circumference of the band. Then cut a 4.5 cm wide tape of fabric in the measured length + 2 extra centimetres. Remember, you must cut the tape diagonally, otherwise, it won’t be possible to form the band in a round shape.

Bordering the band with the bias tape
4. At first, fold the bias in half and press by iron. At each end of the tape fold inside 0.5cm neaten the finishes. While pressing down using the iron, try to prepare the bias already in a round shape with your iron. This will make shaping much easier while sewing.
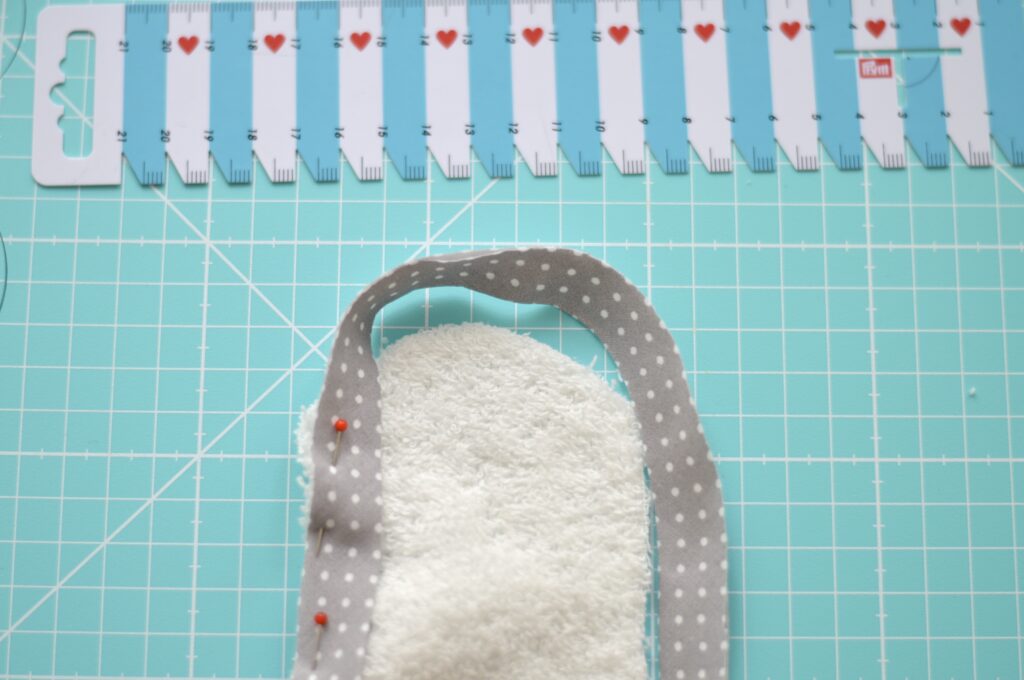
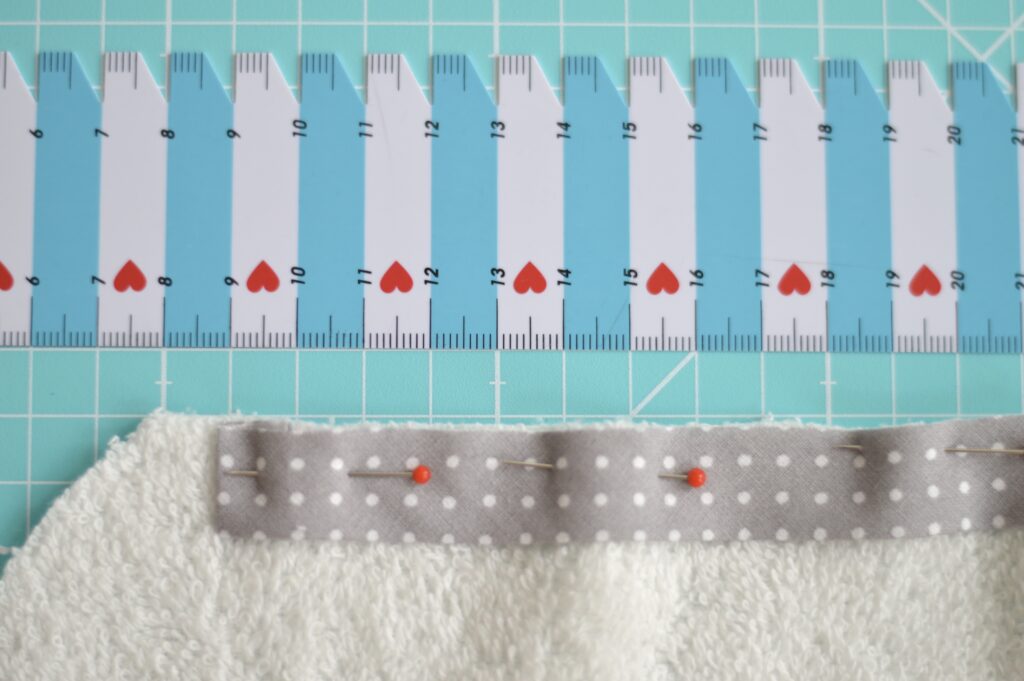
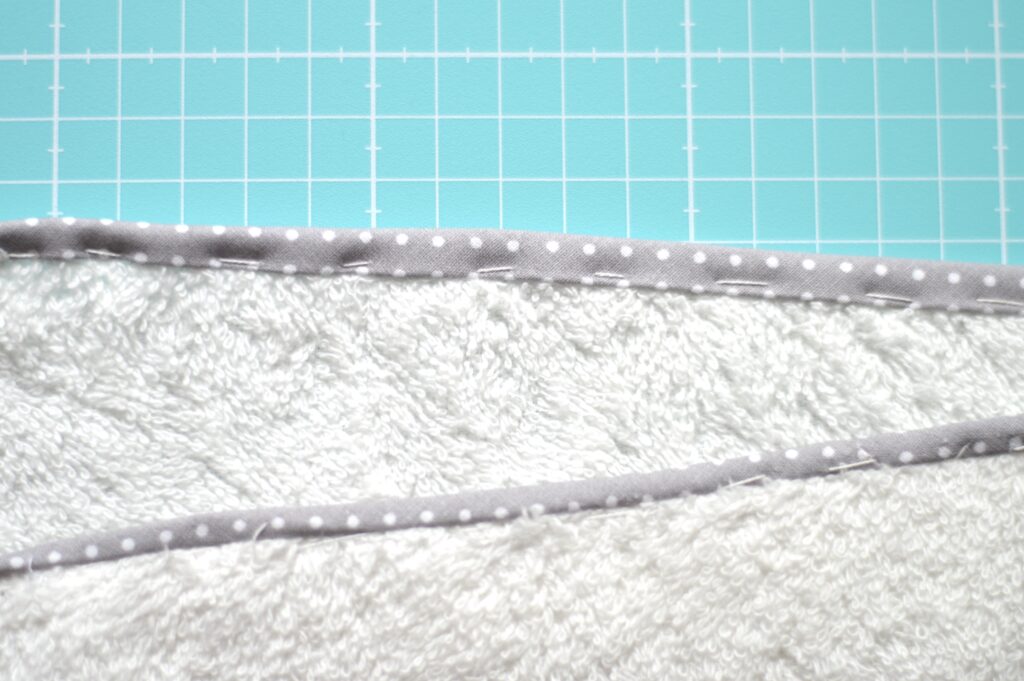
5. Place the bias tape approx. 1 cm from the curve and pin. I recommend securing the bias tape position by hand stitching using a simple front basting stitch. By doing so, the bias will be thoroughly fixed while stitching on the machine. Neaten the seam by cutting it approx. 0.3 cm, remove the basting thread and shape the seam by gently pressing down using the tip of the iron.
6. Wrap the bias over the wrong side of the band and secure again using the basting stitches. Press by iron steam. It is important that the end of the bias tape overlaps 1mm of the seam on the wrong side of the band.
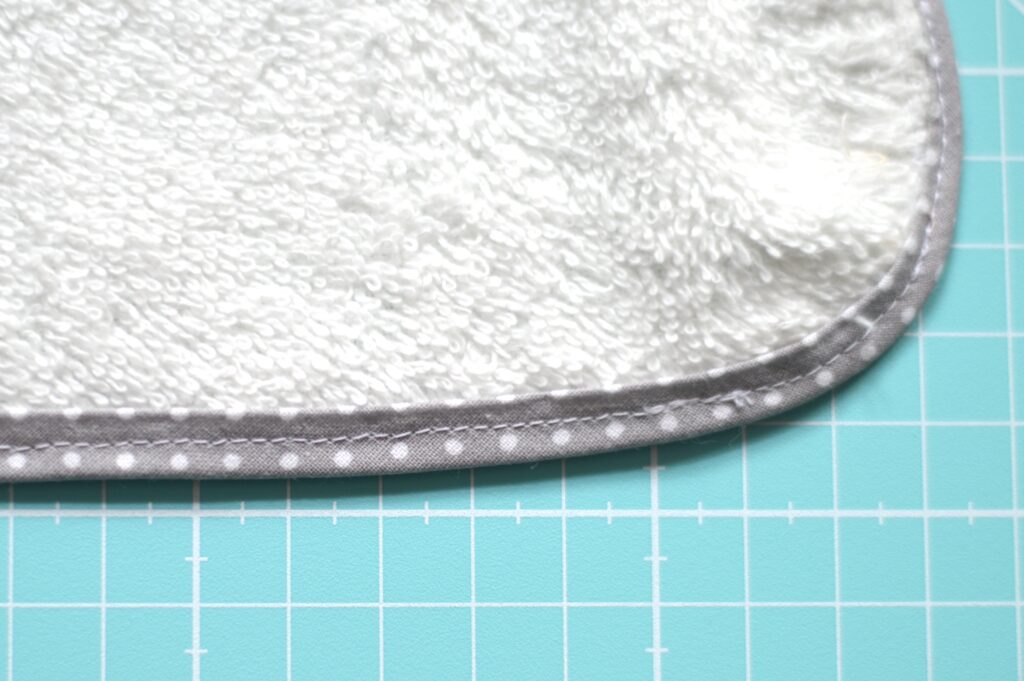
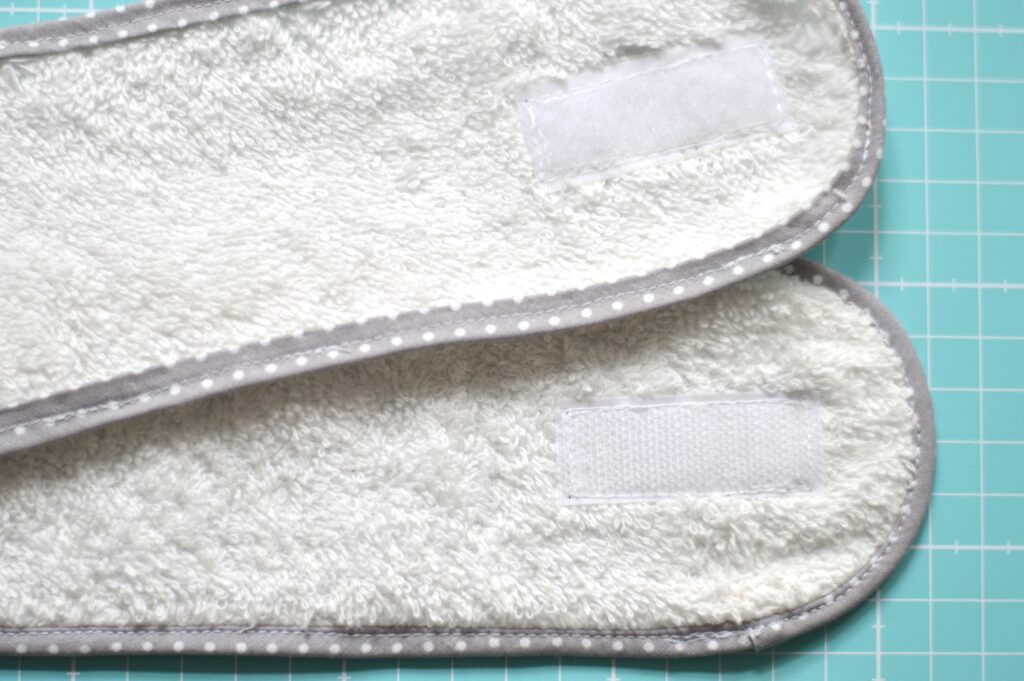
7. Make the final stitching on the machine. Sew on the right side of the band – in 1 mm distance from the original seam. By doing so, the bias will be secured on the wrong side and consequently, the band will be nicely hemmed. Finally, place the Velcro fastener in the middle of the band, 2 cm away from the rounded end. Pin, secure using basting stitches and finally stitch on the machine.
Decorative bow
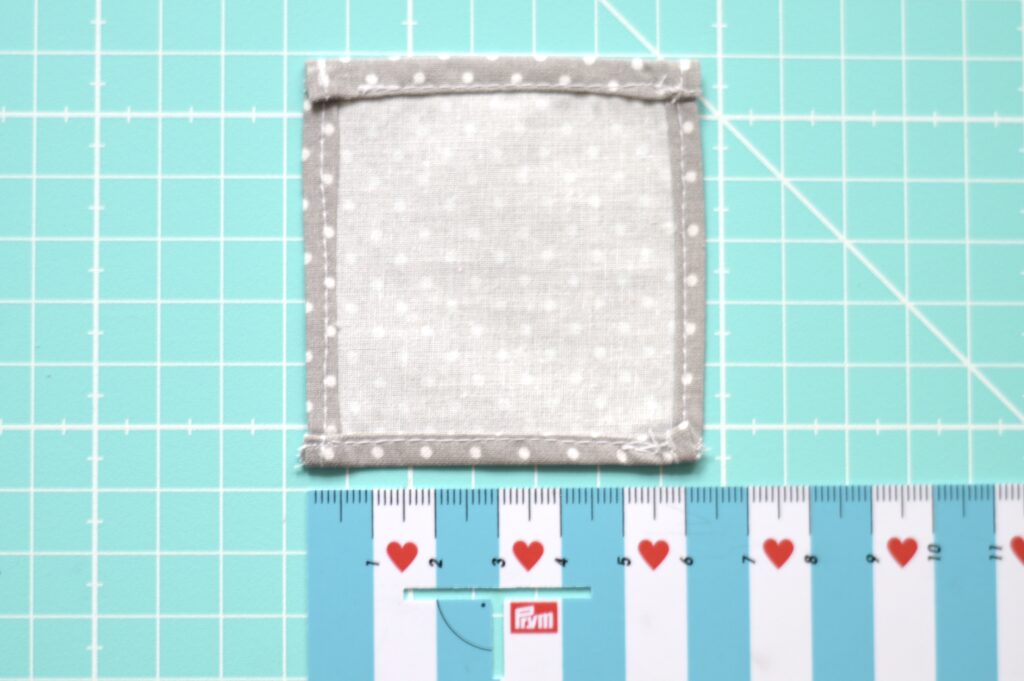
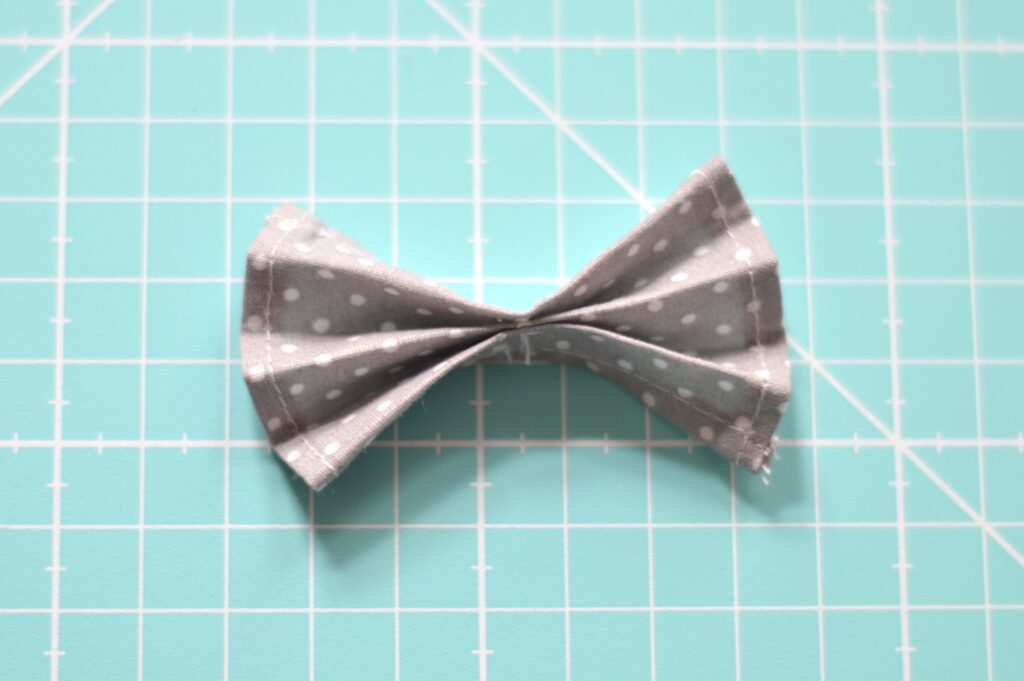
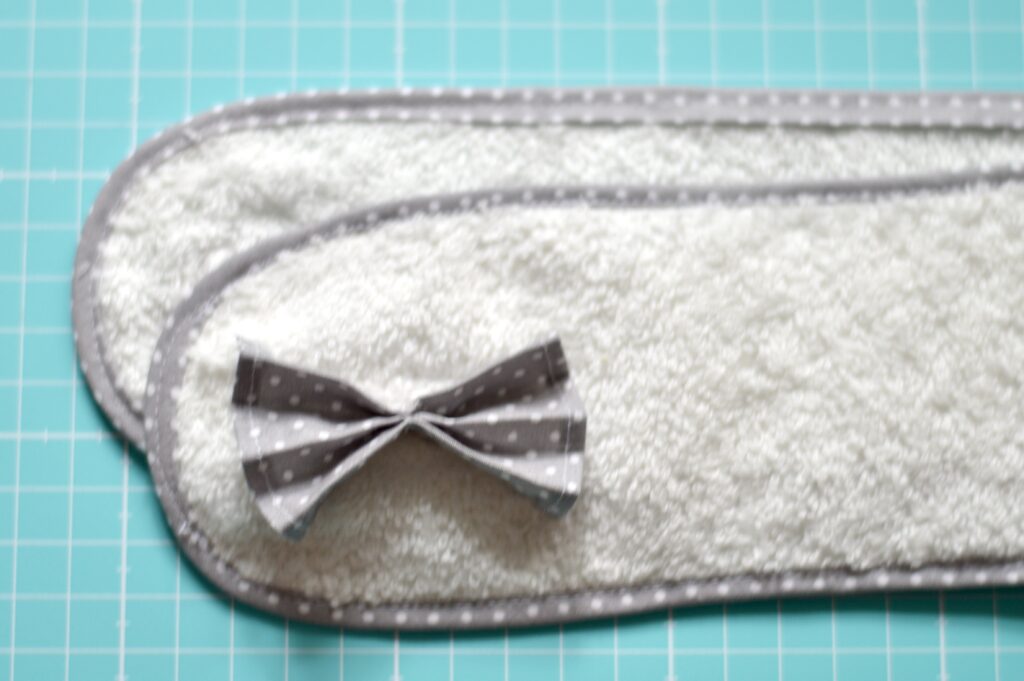
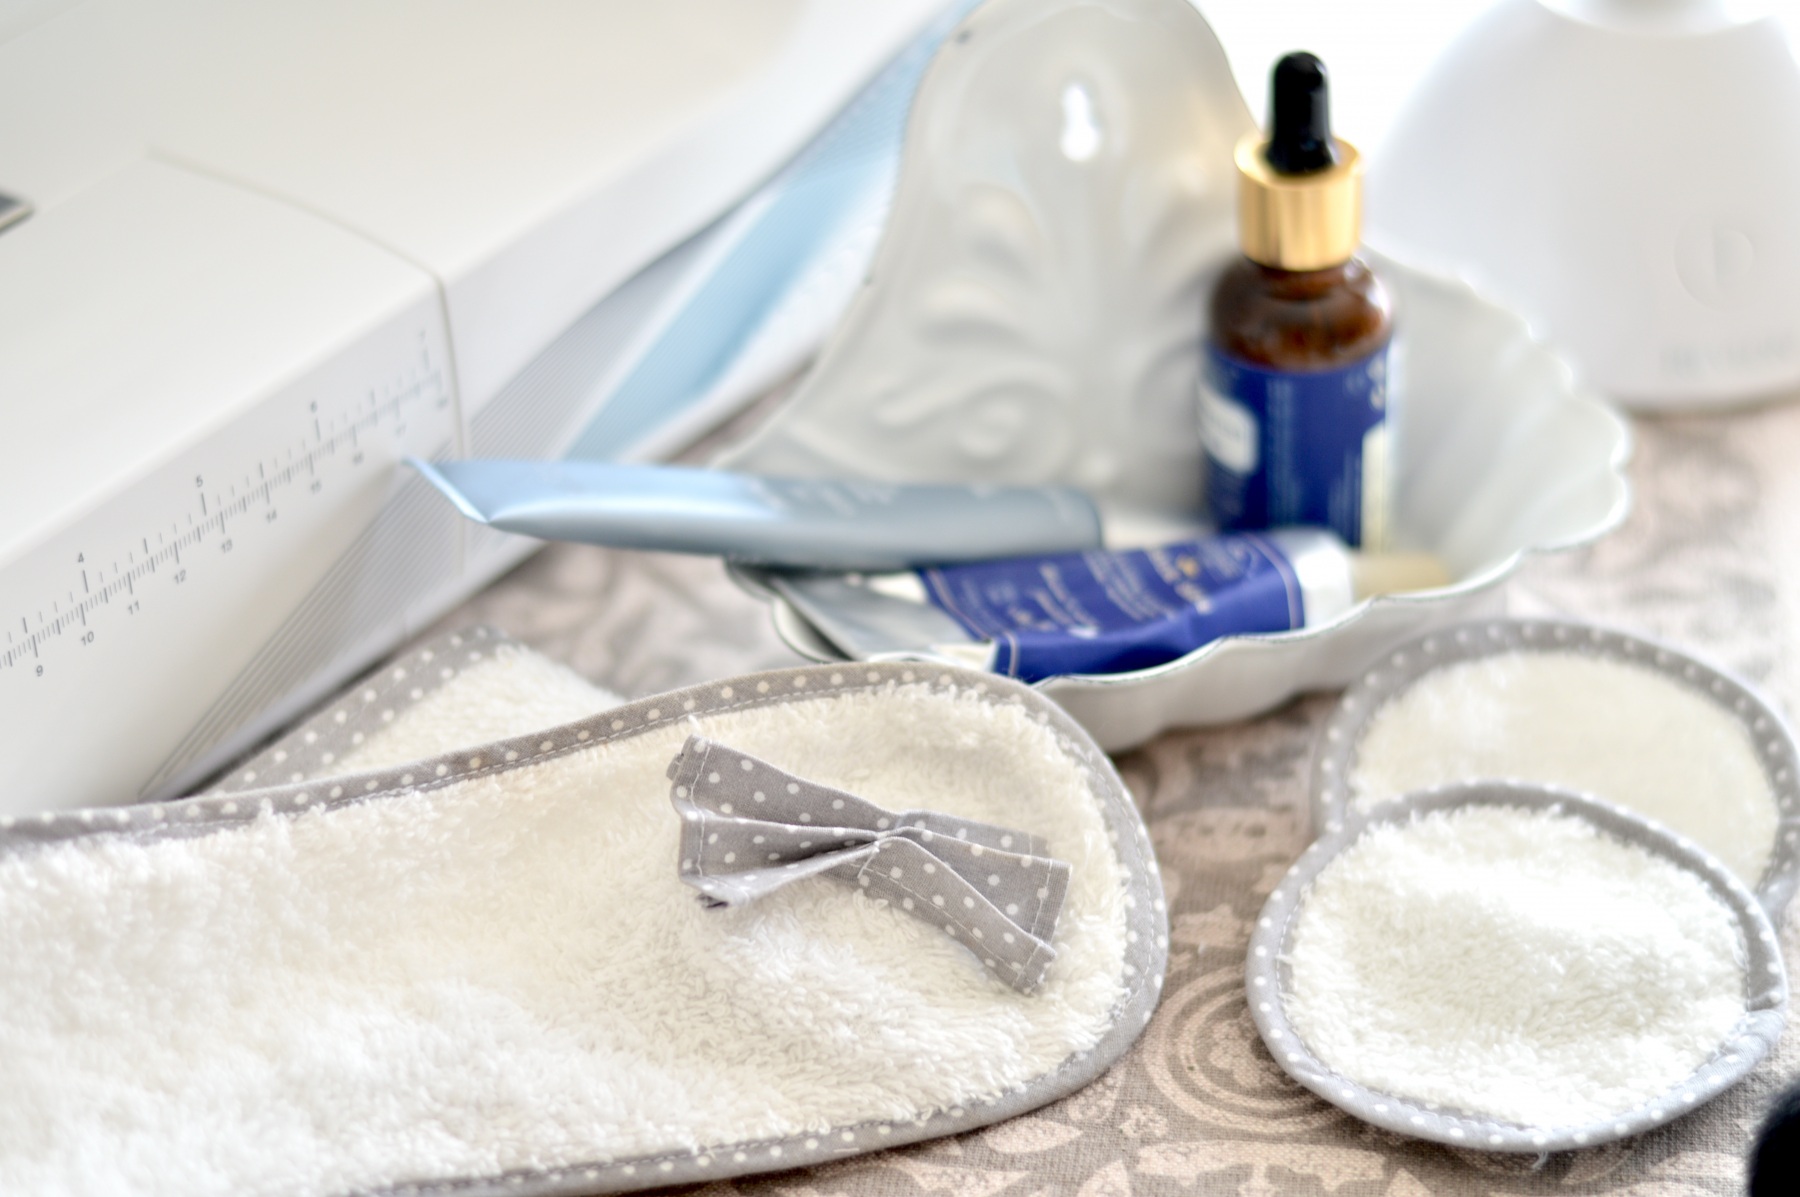
8. This is an optional step – if you wish, you can embellish the band by adding a tiny detail. I made a small ribbon from the same fabric as my bias tape. I cut a square approx. 7×7 cm. I folded 0.3 cm twice on each side in order to finish the edges. Then I made regular folds and I secured them in the middle by two tiny front and back stitches on the machine. Finally, I hand stitched the ribbon onto the band.
Lengthening the bias
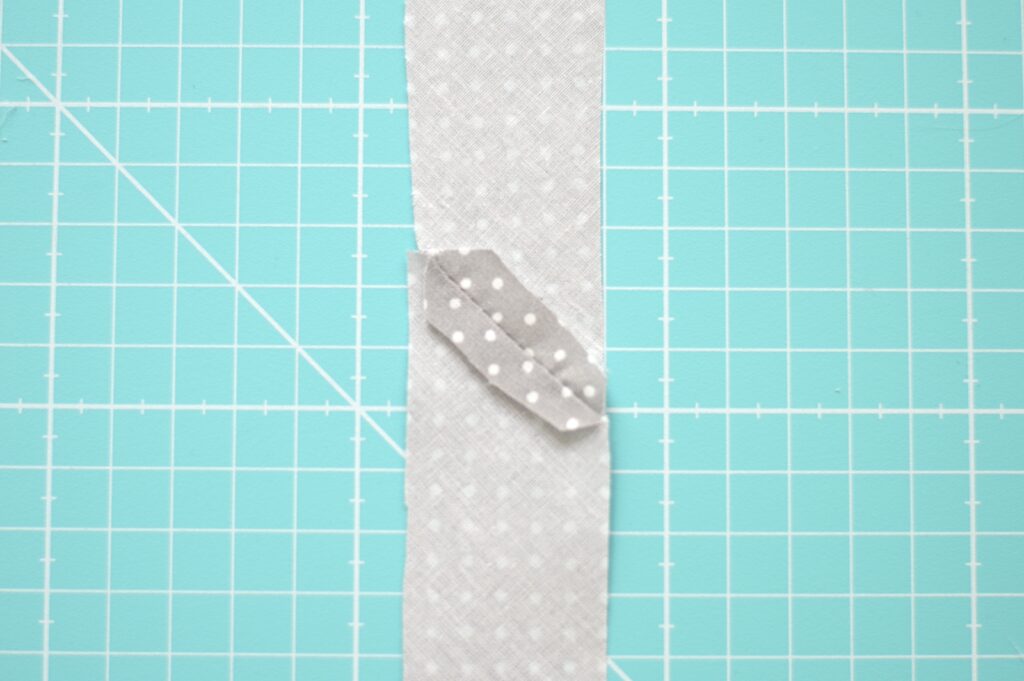
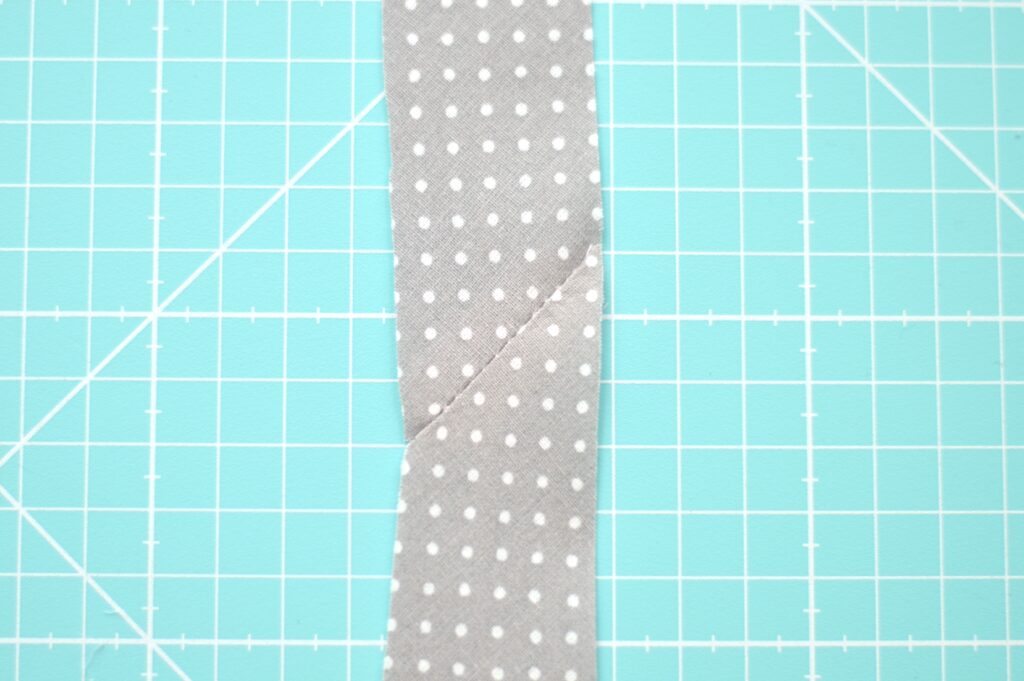
Obviously, it might happen that bias tape doesn’t have the length needed. In this case, you can sew two biases together in order to obtain the required length. It is just important to lengthen the bias in the correct way. Place both bias tapes together – the right side to the right side of the fabric. Bias tapes need to be placed in the form of a triangle as shown in the picture. Stitch and gently cut the overlapping corners. Open the seam by ironing.
Preparing the cleansing pads
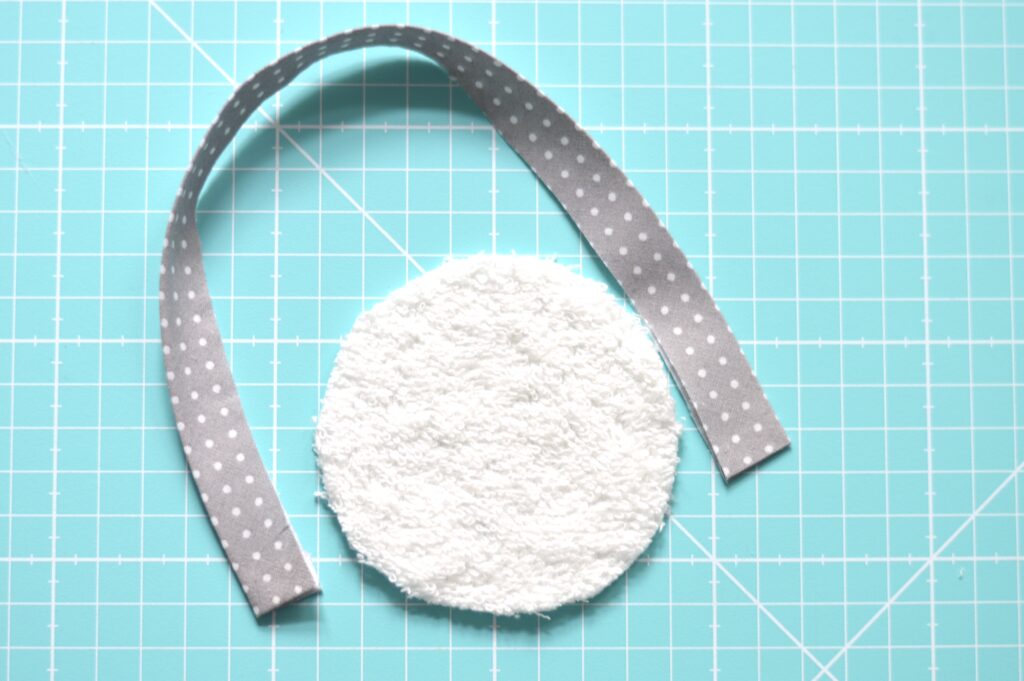
Create a paper template in the form of a circle – mine was 8.5 cm in diameter. Cut the terry fabric. Then the technique of sewing the bias tape stays exactly the same. The only important thing comes in the preparatory stage – it is worth rounding the bias tape before stitching, using the iron, as shown in the picture.
And there you go 🙂











Leave a Comment