Snap it! :)
Buttons or snaps for your sewing projects? I have never really asked myself this question as my choice would automatically be the buttons. However, after my mother once accidentally proposed to think out of the box for one of my sewing projects and replace the buttons with snaps, I kind of fell in love with this idea 🙂 So, keep reading as I’m going to share my way of how easily attaching snaps to a garment.
Before jumping right into snaps set-in instructions, let me list some of my favourite reasons why I like to work with snaps:
- an easy and quick way of garment fastening
- no need to sew buttonholes
- simple installation
- gives the garment a fresh and unhackneyed appearance as the snaps come in a variety of colours and finishes
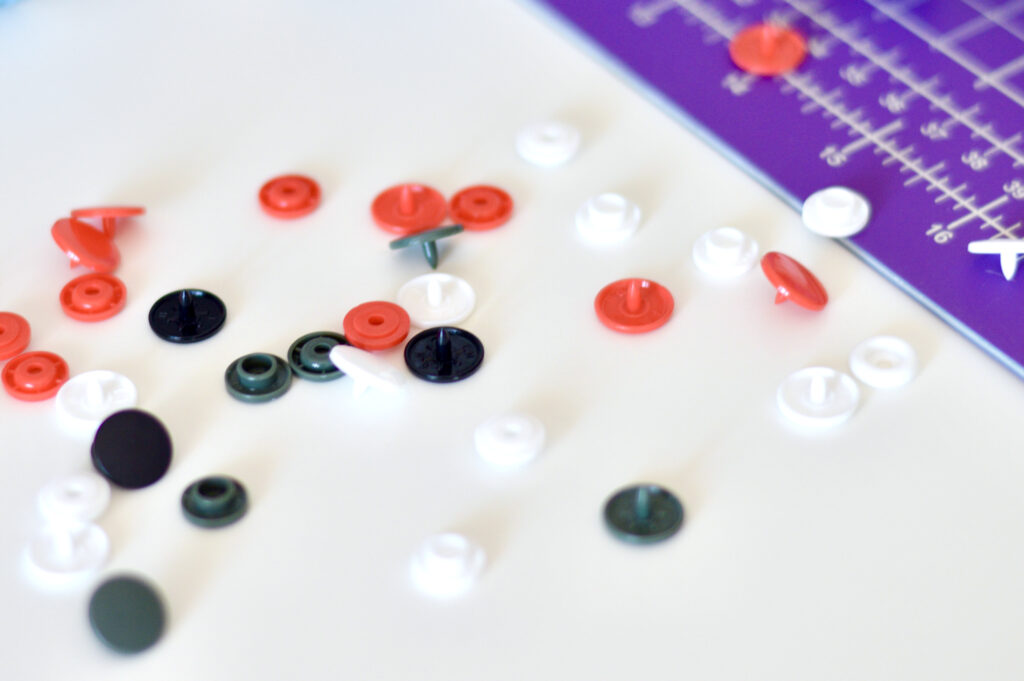
Obviously, snaps cannot be an adequate replacement for classical buttons in every case, but sometimes they come in really handy. While working with buttons requires accurate manipulation during the buttonhole embroidering (especially working on buttonholes on delicate fabrics might be a real challenge), installing the snaps is truly easy.
To fix the snaps onto a garment, a special pair of pliers is required. I work with Prym’s Vario Snaps pliers which come together with piercing tools, snaps installing tool sets and the removal tool. However, there are other accessories available on the market you can buy separately. It all depends on the fasteners type you’re working with (press fasteners, colour snaps, tubular rivets, eyelets, jersey press fasteners…)
Although using the pliers and all those little bits might seem complicated, it is actually a very simple and intuitive tool. For me, it was a real game-changer.
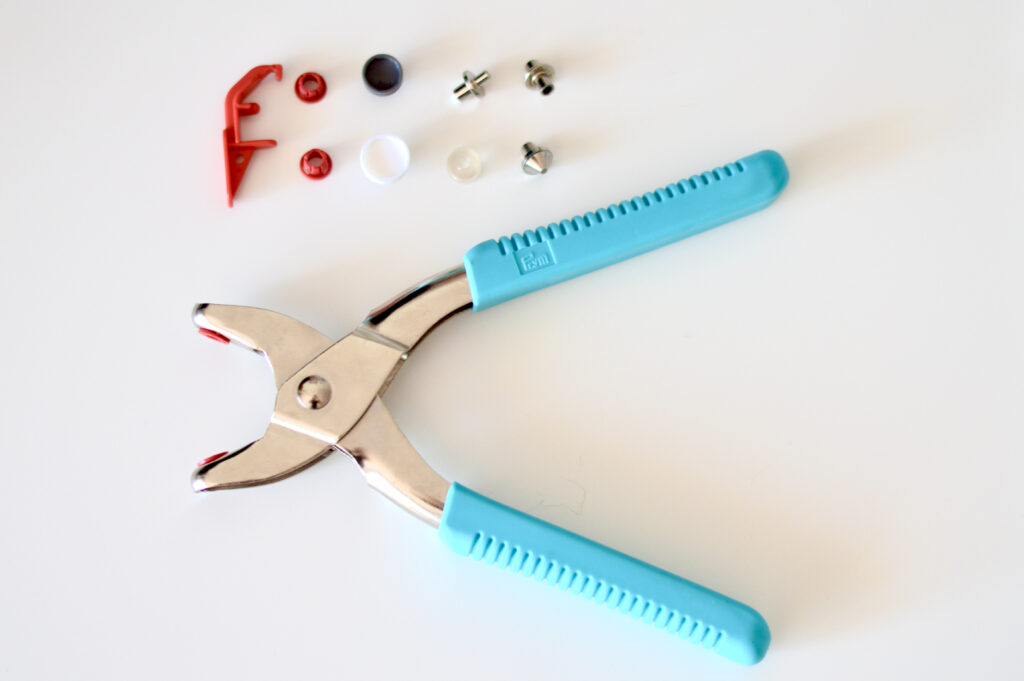
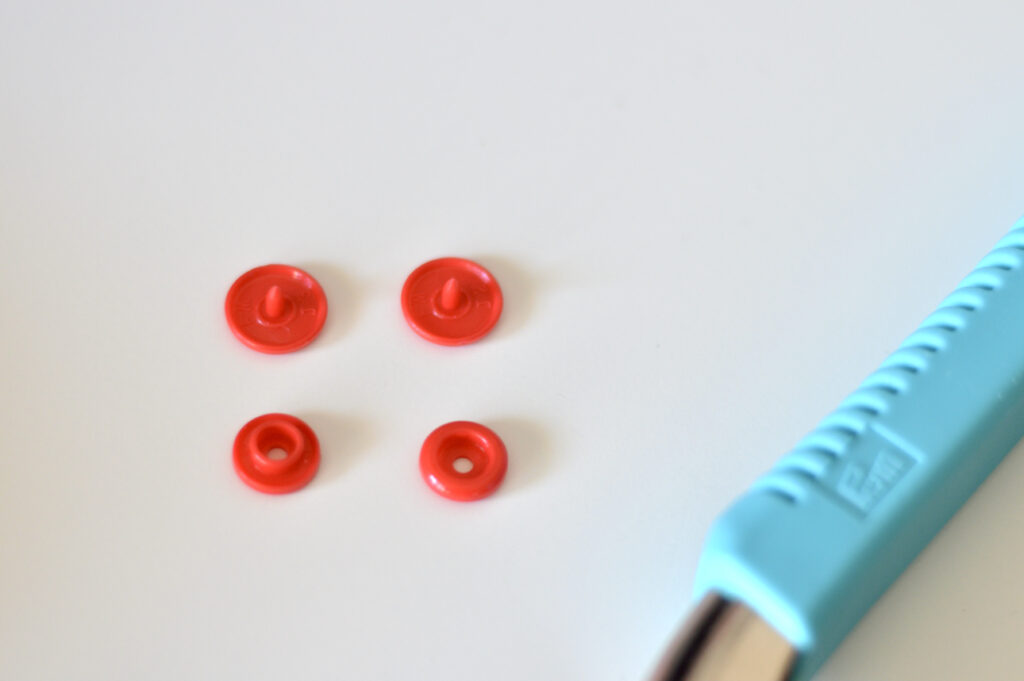
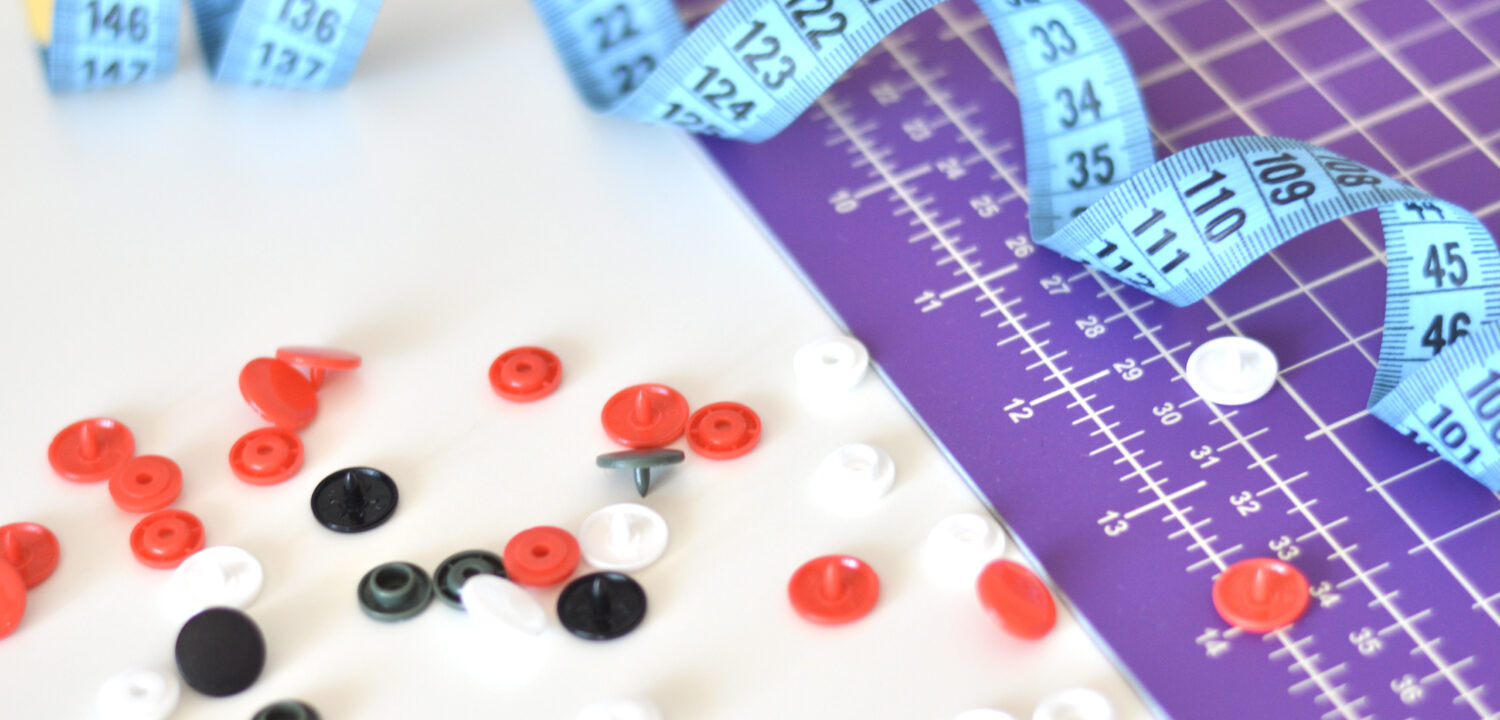
Each Prym’s Colour Snap comes in four parts – two decorative caps – one visible on the top of the garment and the second one completing the snap’s body at the very bottom of the fabric. The two remaining pieces are the socket and the stud, and they interlock together to form a strong, yet easy-to-use closure. Both socket and the stud are attached to the fabric by the caps.
The principle of fixing the snaps with pliers consists of two steps: first, we perforate the fabric using the pliers and their piercing tolls, and then we set in the snaps using a tool set that is specific to each type of fastening. With a little practice, you are done with installing snaps in a few minutes.
If you would like to give the snaps a try for one of your projects, I’m leaving below a step-by-step picture installation guide. With a little practice, you are done with installing snaps in a few minutes 🙂
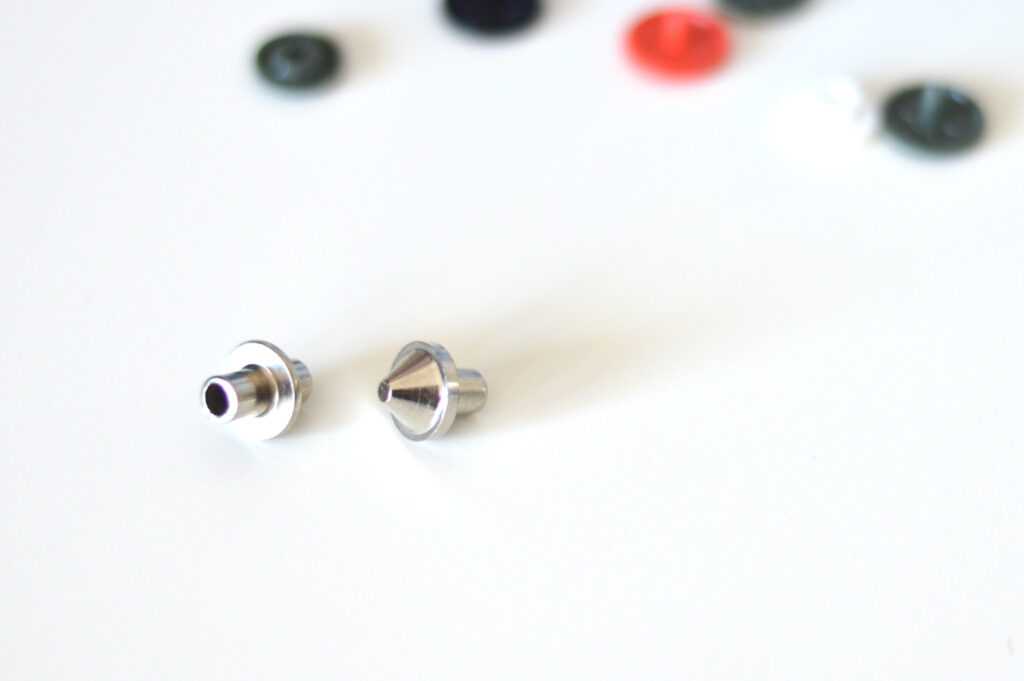
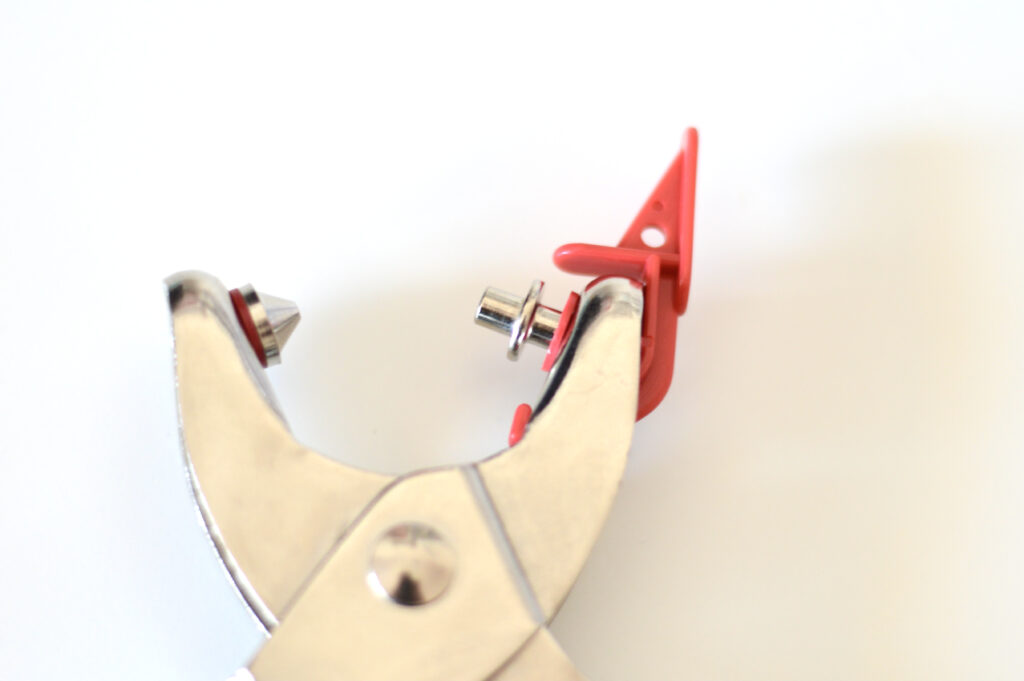
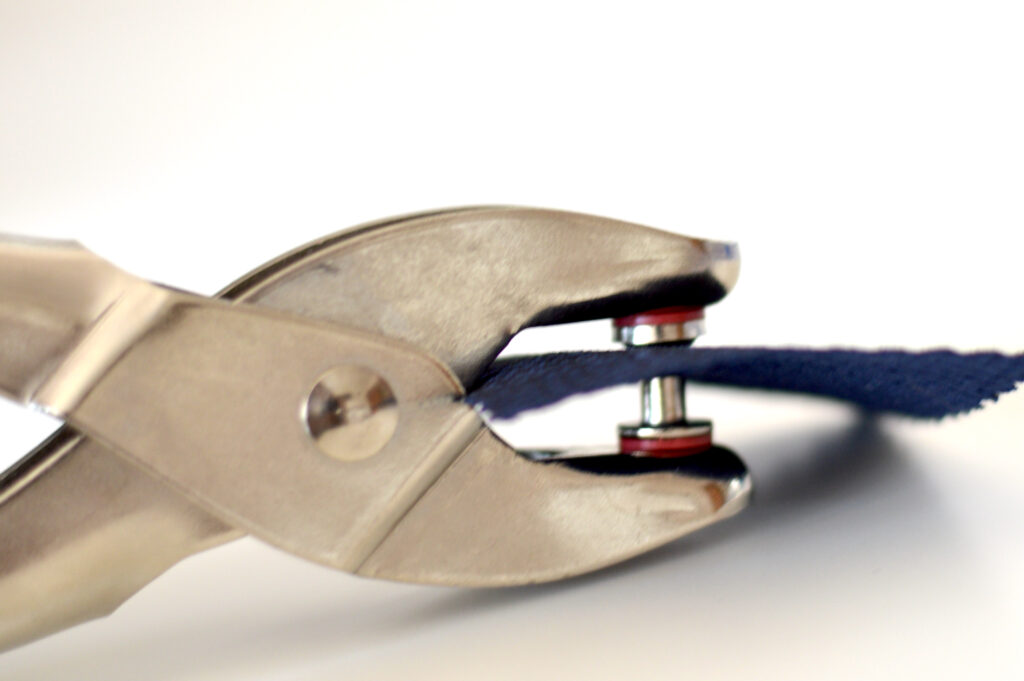
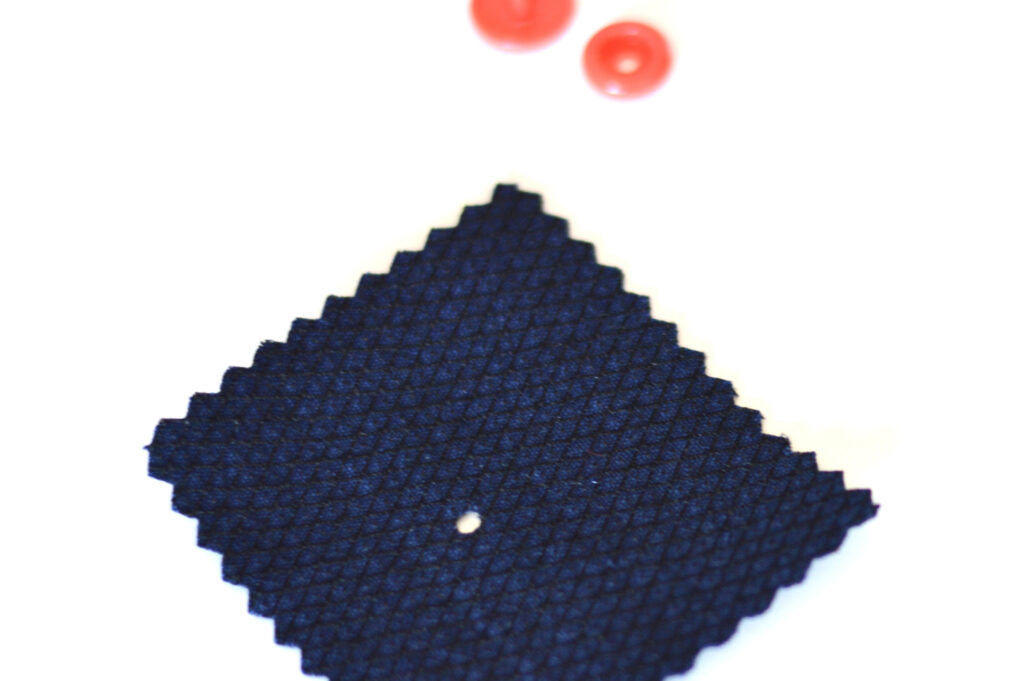
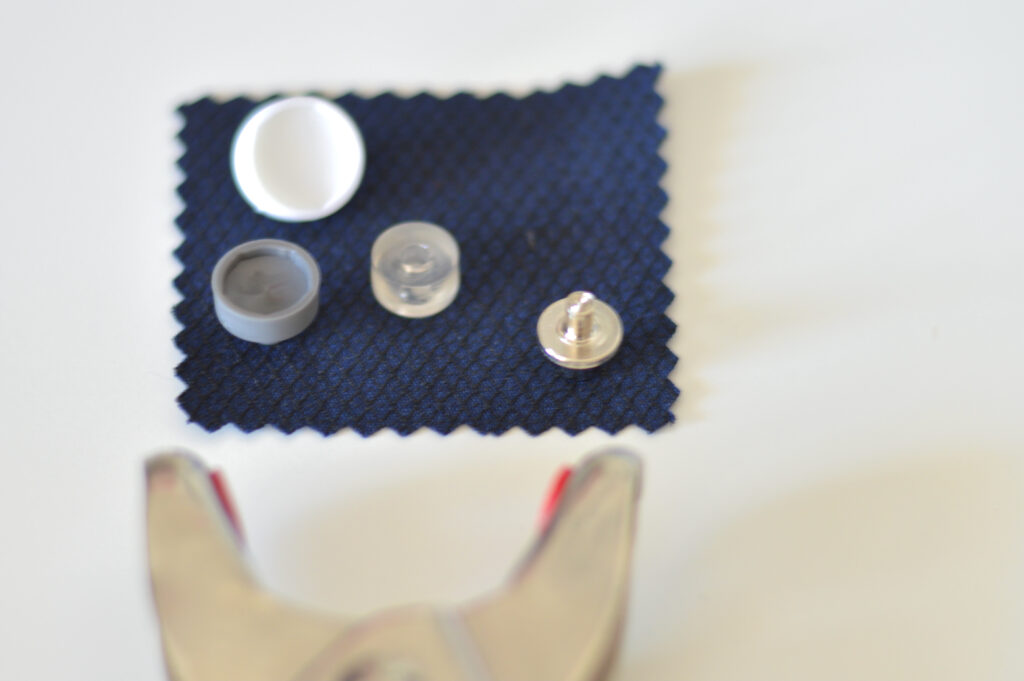
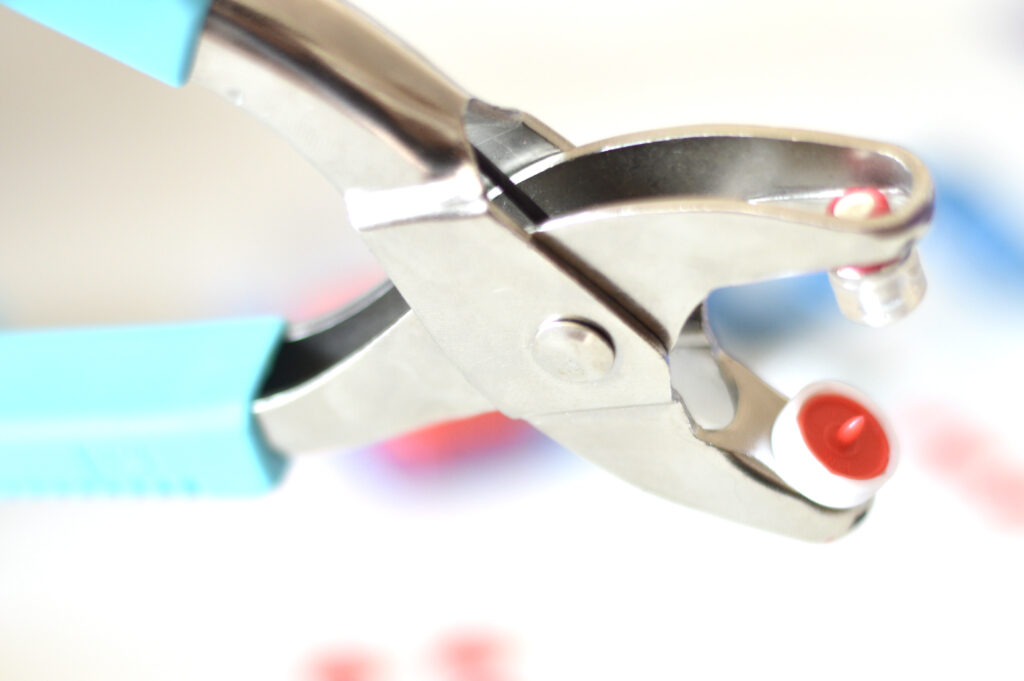
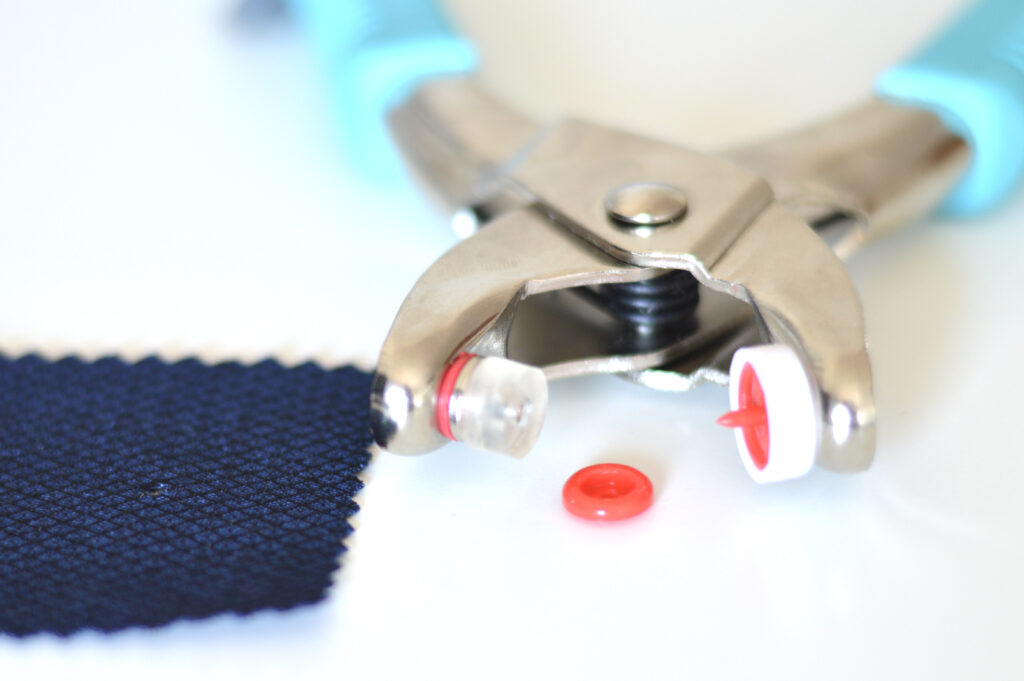
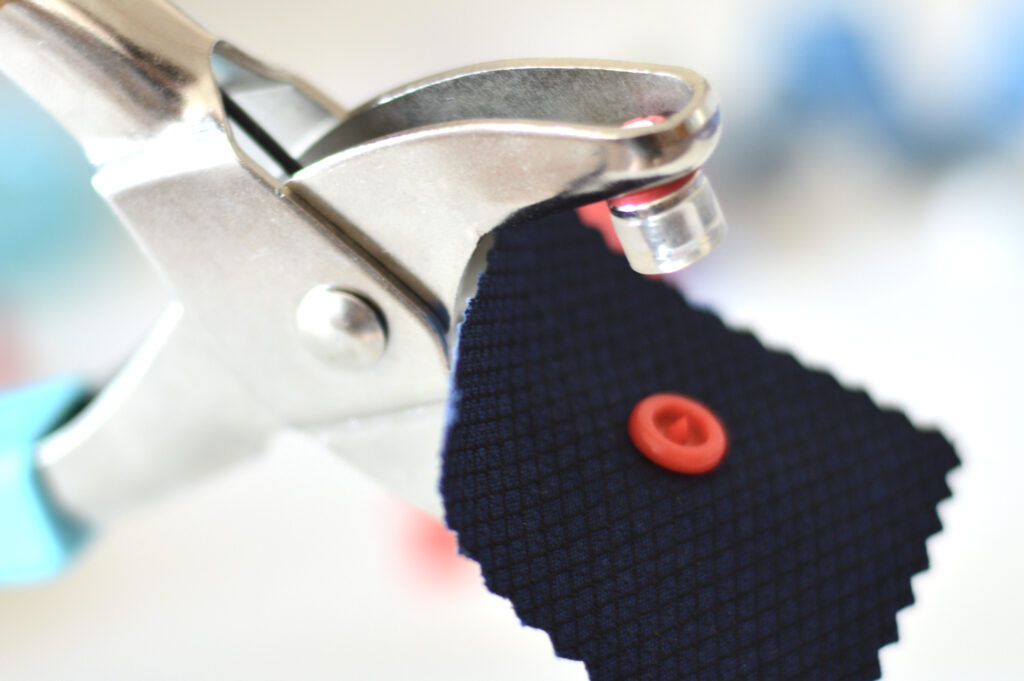
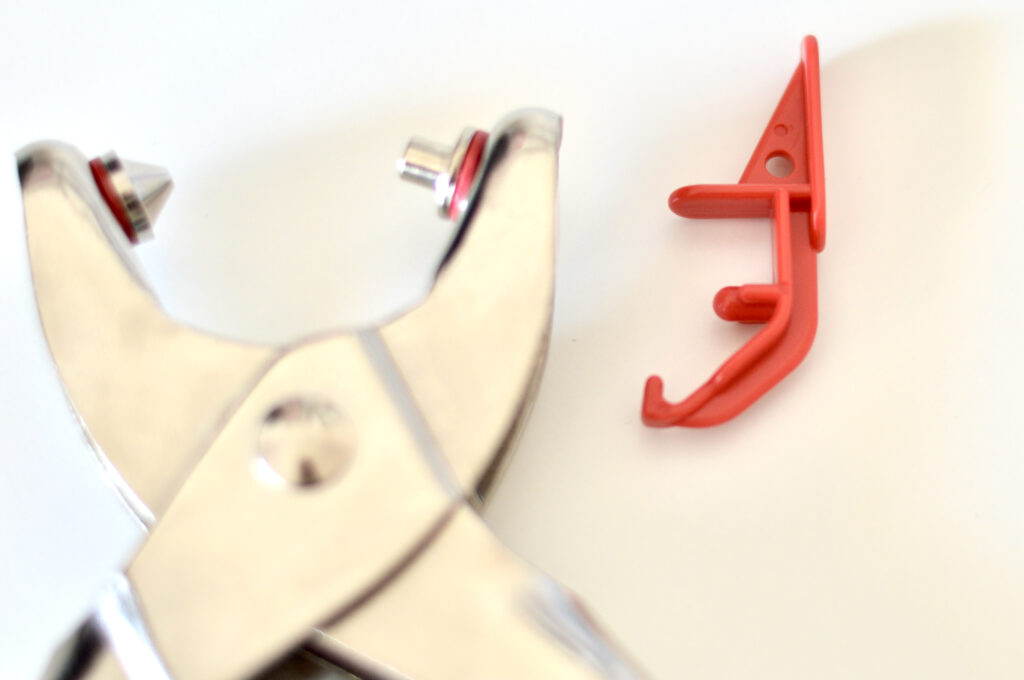
Note: if you work with light to mid weighted fabric, steps 1 – 3 with piercing instructions might be skipped. The flat cap has a sharp pointy ending which you can use directly to pierce your fabric.
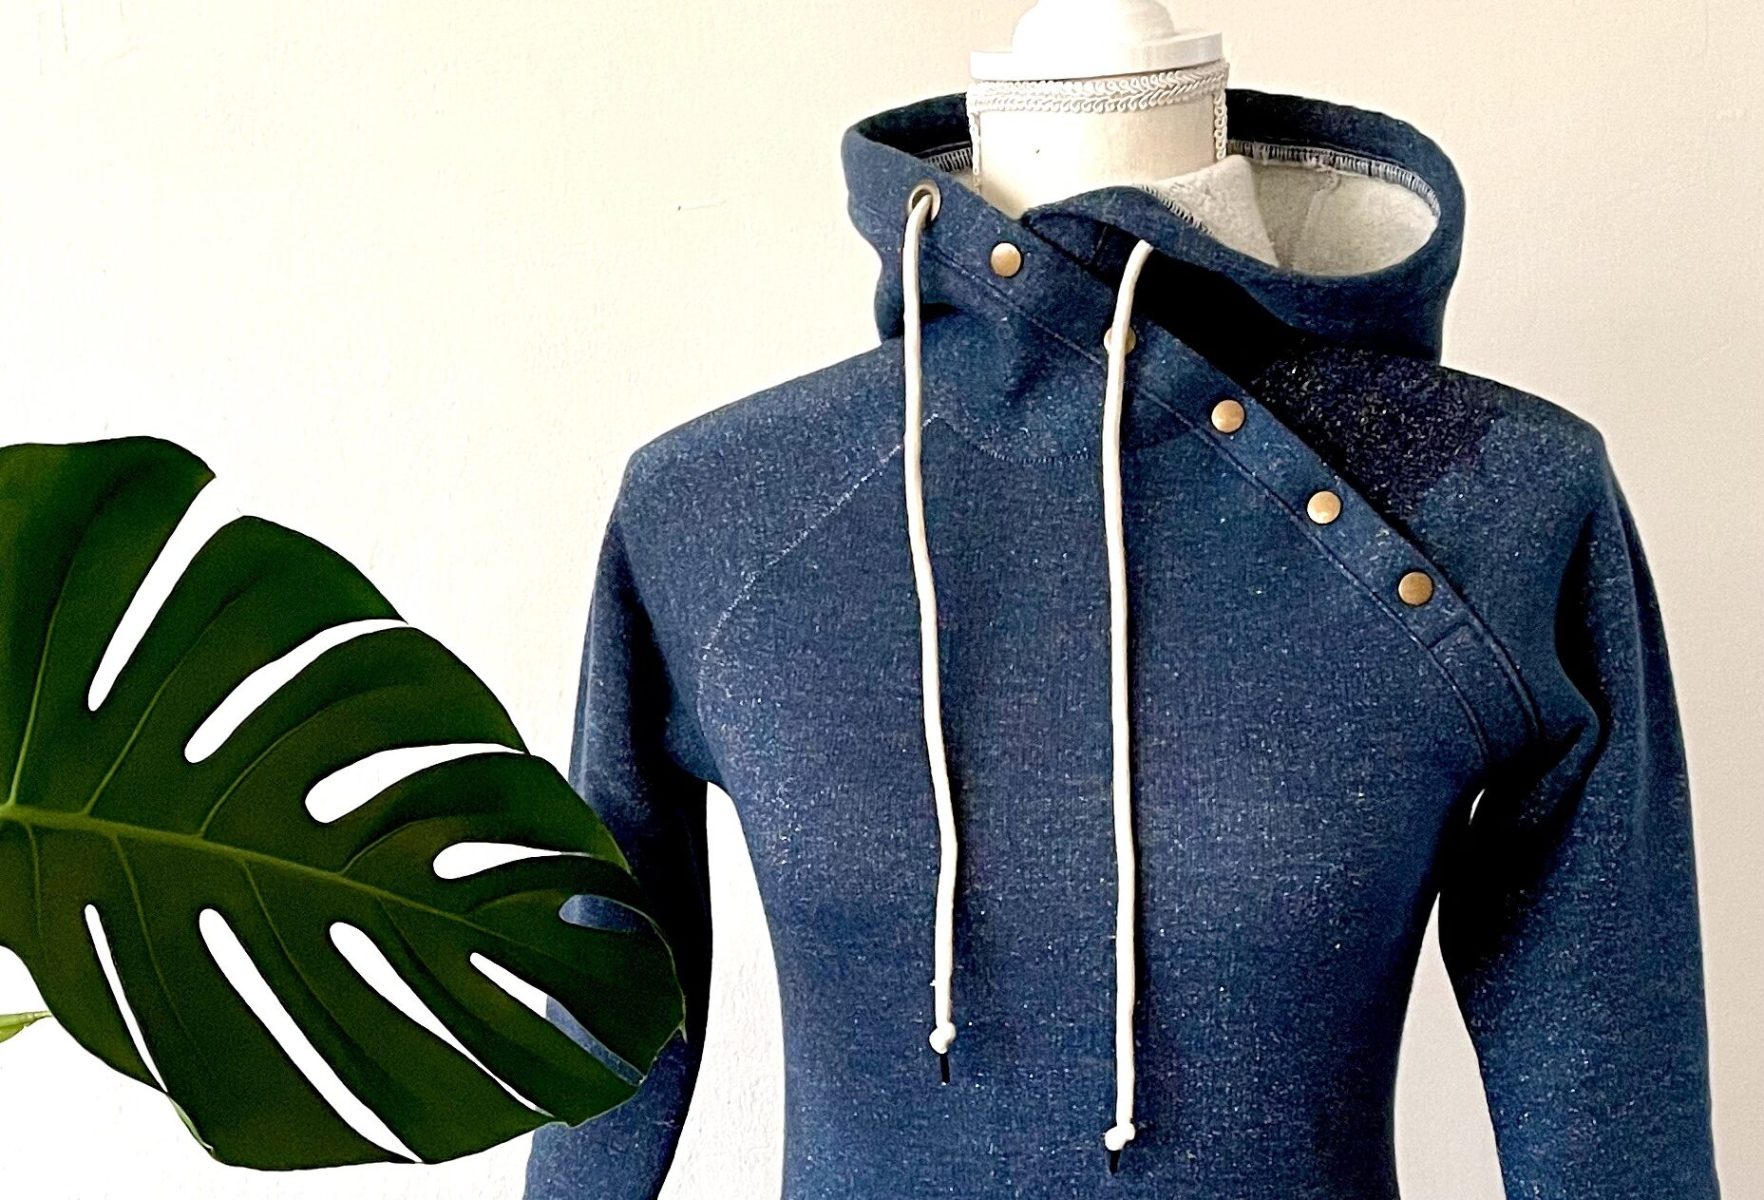
As you can see, using those pliers is not a big deal and snaps can totally change the appearance of a final garment. Thus while sewing, do not forget the snaps, they can be a great addition to your projects 🙂 Below I’m leaving a small gallery of my snaps makes, so that you can visualize some of my results.
Jersey blue dress snap fastening detail
* * * *





Leave a Comment